Custom Shirt Patches and Where to Put Them: A Placement Guide for Every Garment
Best spots, sizes and attach methods for four common items.
Custom shirt patches, jeans patches and bag patches work best in the right spot. Here are the best places, sizes and attach methods for each item.
QUICK GUIDE
Best Patch Spots at a Glance
Start here. The table lists the best spot, the spots to skip and a fitting method. Six items are covered.
| Item | Best spots | Skip | Attach method |
|---|---|---|---|
| T-shirt | Left chest, sleeve | Collar, side seams | Sew-on, iron-on |
| Work shirt or polo | Left chest, pocket | Under the arm | Sew-on |
| Hoodie | Chest, cuff, pocket corner | Thick hood seams | Sew-on |
| Uniform | Chest, shoulder, name spot | Fold lines | Sew-on |
| Backpack | Front pocket, flap | Straps, handle | Sew-on, hook and loop |
| Jeans | Back pocket, knee, hem | Thick seams | Iron-on plus stitches |
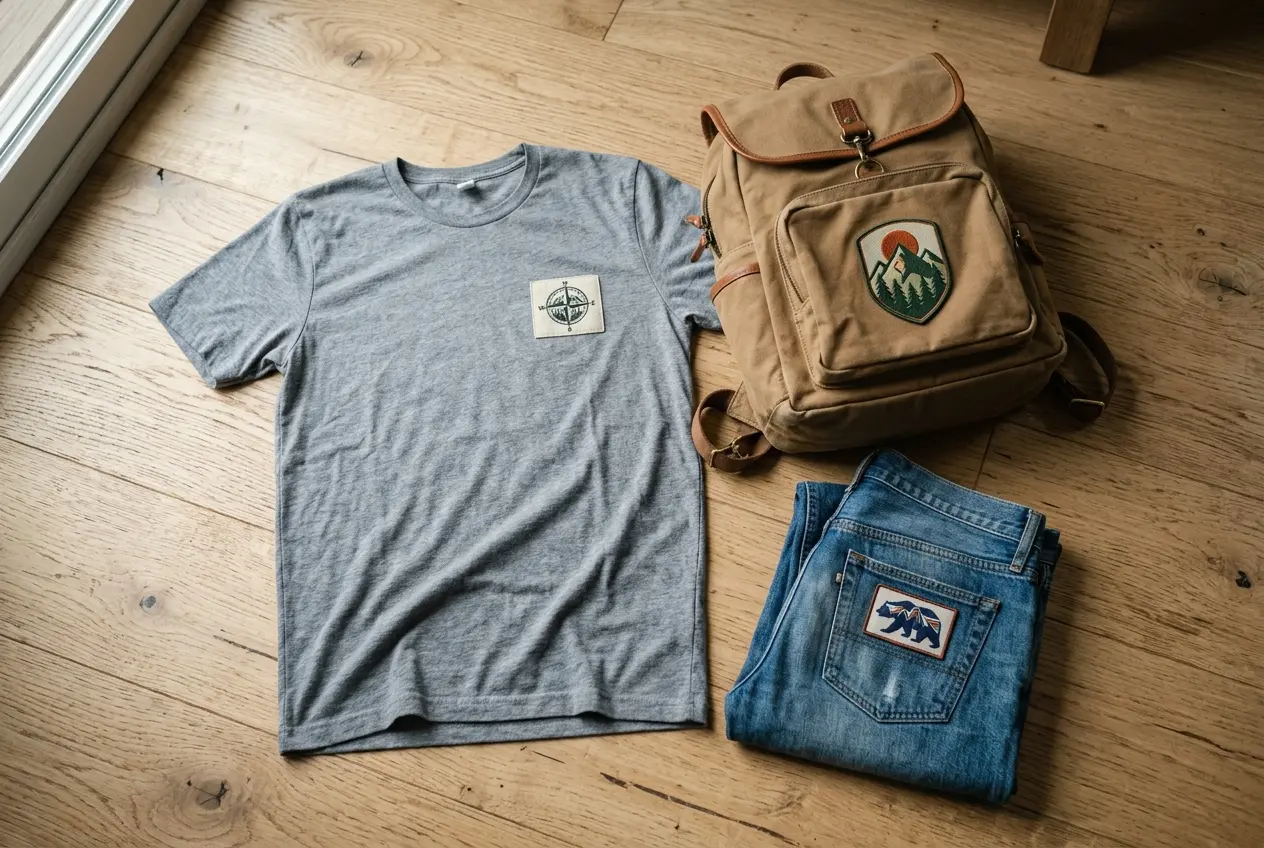
Sizes depend on the surface. Measure the flat area before you pick a size. A patch should sit on a flat area with room around it. Crowding a pocket makes it look messy.
SIX RULES
Six Placement Rules That Work on Any Garment
These rules apply to every item below. Read them once. They save a lot of picking and re-pressing.
- Lay it flat. Place the patch on a table, not on your body.
- Avoid seams. Seams lift the edges first.
- Skip friction zones. Straps and armpits rub patches off.
- Match size to surface. A big patch needs a big flat area.
- Pick the method by fabric. Heat or thread, not both guesses.
- Photograph before you fix. A photo shows what your eye misses.
Why Seams and Friction Zones Lift Patch Edges
- Seam
- A stitched join. It makes a ridge the patch cannot sit on.
- Friction zone
- A spot that rubs often, like a strap or underarm.
- Curve
- A rounded surface. Flat patches stand off the cloth.
Edges are the weak point. Think of the border as the first part to fail. A patch can look perfect and still lift. Seams, rubbing and curves all pull at the border.
Mark spots with chalk or pins. Wear the garment and check in a mirror.
TEES AND SHIRTS
Custom T Shirt Patches: Where They Sit Best on Tees and Work Shirts
Shirts are the easiest garment to patch. The cloth is flat and the zones are clear. Cotton jersey takes both thread and heat. Stretch jersey needs a flexible bond or loose stitches.
Left Chest, Sleeve, Back Yoke and Hem Spots
| Zone | Best use | Size note |
|---|---|---|
| Left chest | Logo or name | 3 to 4 in wide |
| Sleeve | Small icon | Keep it modest |
| Back yoke | Team mark | Centered below the collar |
| Hem corner | Small tag | Keep it small |
Left chest means the wearer's left. It sits just above the heart. Names run smaller than logos.
Work Shirts and Polos: Name, Logo and Role Patches
Work shirts need clear marks. Custom patches for shirts like these often carry a name or a role. Keep the text bold and short.
Think about who reads the shirt. Shirts get washed often, so stitch hard-wear spots. A customer sees the left chest first. A coworker reads the name. Plan the order of reading.
- Name on the right chest
- Logo on the left chest
- Role on a sleeve
- Crew mark on the back
- Use sew-on for hard washing
- Check the collar before you press
Hoodies and Sweatshirts: Chest, Cuff and Pocket Corner
Hoodies carry a mini patch well. Big patches fight the fabric, since fleece moves. Place it on the chest, the cuff or the corner of the pocket. Fleece is fuzzy and thick, so sew it or press hard.
- Chest, centered or left
- Cuff, near the wrist bone
- Pocket corner, small only
- Sleeve, below the shoulder
- Avoid the drawstring area
Use a size you can see. About 3 to 4 inches reads well on a chest.
UNIFORMS
Custom Uniform Patches: Chest, Shoulder and Name Positions
Uniforms repeat. Every wearer carries the same patch in the same spot. That consistency is the point. A crooked patch shows up fast across a team.
- Mark the spot with chalk.
- Measure from the collar seam.
- Measure from the shoulder seam.
- Match the spot on every garment.
Make a paper template first. Cut it to patch size. Tape it in place and let the group check it. Then copy that spot on every garment.
- Left chest for the organization logo
- Right chest for the name
- Shoulder for the unit or team
- Sleeve for rank or role
- Back for a large mark
- Pocket flap for small badges
Sew-On or Iron-On on a Uniform?
Custom patches for uniforms face weekly washing. Thread usually lasts longer than glue. Compare both in our method comparison.
Pros
- Sewn: holds through heavy laundering
- Sewn: works on hi-vis polyester
- Iron-on: quick for small batches
Limits
- Sewn: takes time per uniform
- Iron-on: heat can mark polyester
- Iron-on: edges lift under heavy washing
Regulated Uniforms Follow Their Own Rulebook
We can make patches for these audiences. See military patches, police patches and fire department patches. You can also see team and club patches.
BACKPACKS
Custom Backpack Patches: Front Pocket, Flap, Side Panel and Straps
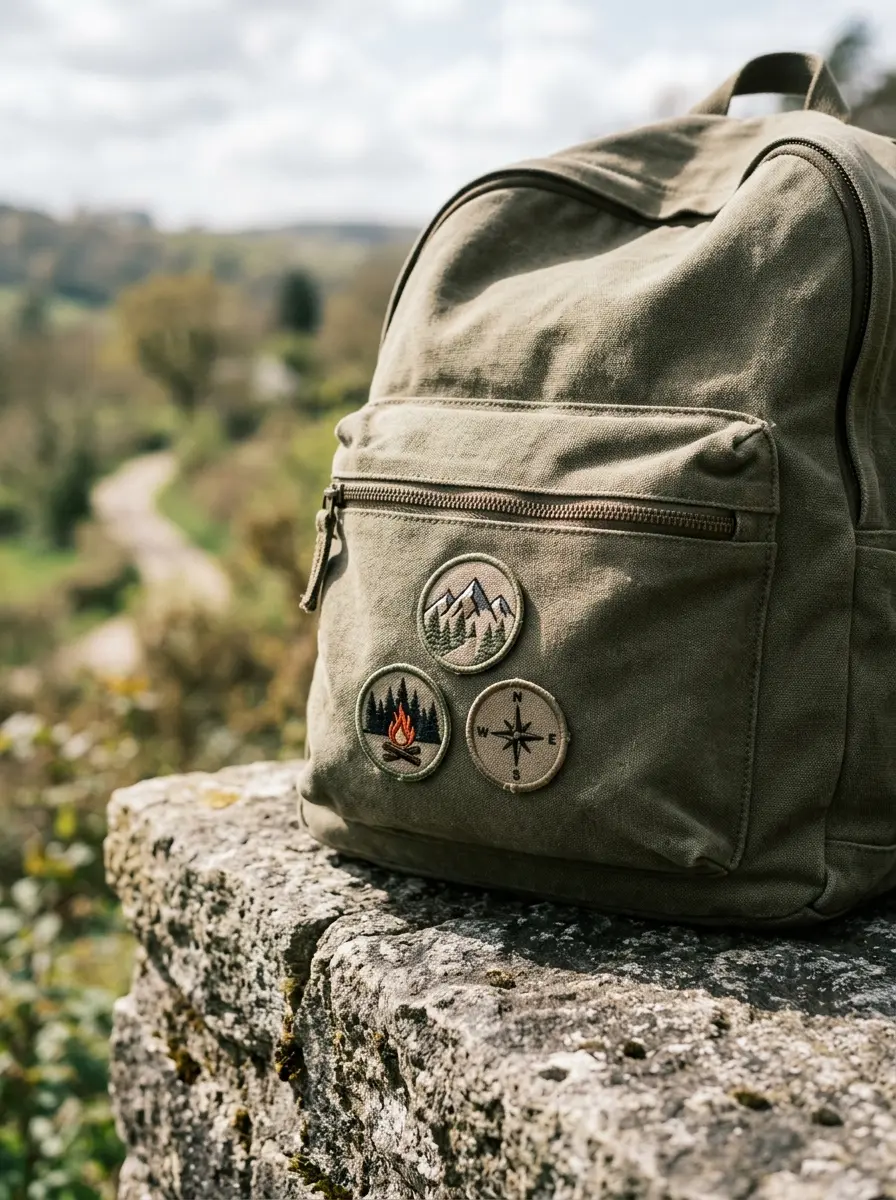
Bags are where patches get fun. They also take the most abuse. Choose the spot with that in mind. Zip areas and strap edges move the most.
- Front pocket: the best display area
- Top flap: small and safe
- Side panel: good for long shapes
- Back panel: hidden from view
- Straps: avoid, constant rubbing
Canvas, Nylon, Coated Fabric or Leather: What Takes a Patch
| Fabric | Iron-on | Best method |
|---|---|---|
| Canvas | Works | Iron-on or sew-on |
| Nylon | Poor | Sew-on, hook and loop |
| Coated fabric | No | Sew-on, hook and loop |
| Leather | No | Sew-on, with care |
Swap Panels for Patches You Want to Change
Sew a loop panel to the bag once. Use a rectangle of loop fabric on the front pocket. Then patches with hook backing come on and off. Swap your layout whenever you like. See backing options.
Patch Ideas for a Plain Backpack
Pick a theme before you buy. Mixed themes can look busy. A shared color helps tie things together.
Flags, maps and city marks.
Instruments, hiking and gaming.
One bold monogram.
Scout and school marks.
One favorite, centered.
A small mark for a team bag.
JEANS
Custom Patched Jeans: Back Pockets, Knees, Hems and Cuffs
Denim is thick cotton twill. It takes thread and heat well. The problem spots are knees, hems and seams. Back pockets are the easy win.
Pocket patches sit flat and rarely move. Knees bend all day. Hems drag on the ground. Plan each spot by how much it moves. Pick stitches for the busy ones.
Inside or Outside the Denim: Custom Patches for Jeans
| Goal | Where it goes | Why |
|---|---|---|
| Decoration | Outside | It is meant to be seen |
| Hole repair | Behind the hole | It supports the torn weave |
Four No-Sew Ways to Put a Patch on Jeans
- Iron-on backing with a hard flat surface.
- Peel-and-stick backing for a short-term fix.
- Fabric glue as a stopgap.
- Hook-and-loop with a sewn loop panel.
Glue has a shorter life than thread. Treat it as a temporary option. For a lasting hold, sew the border.
Knees and Hems: Where Heat Alone Fails
Knees bend and hems rub. Those spots stress the glue. Add edge stitches on both. See pressing steps for heat details.
LAYOUT
Plan a Multi-Patch Layout Before You Commit
One patch is a decision. Five is a design. Plan the layout first. A tight cluster looks planned, and scattered patches look accidental.
- Lay the garment flat.
- Place patches loosely.
- Photograph the layout from the front.
- Group by theme and space them evenly.
- Step back and look again.
| Style | Look | Best for |
|---|---|---|
| Symmetric | Tidy and formal | Uniforms, team bags |
| Cluster | Casual and personal | Jackets, backpacks, jeans |
Odd numbers often look better. Mix big and small sizes. Leave gaps of about the same width. Keep a theme or a color link.
Take a photo of your layout before you sew. Photos catch crooked lines your eyes miss. Compare it to the garment once more.
OTHER ITEMS
Hats, Jackets and Leather Have Their Own Guides
Some items need their own advice. Each guide covers those cases. Curves, thick hides and big back panels change the rules.
Crowns curve. See the hat patch guide.
Back panels take big art. See the jacket patch guide.
Heat can mark hide. See the leather patch guide.
READY TO ORDER
Order Patches Cut to Fit the Spot You Picked
Upload Artwork
Send any common file format.
Approve Your Proof
Free digital proof within 24 hours.
We Ship Worldwide
Standard 10 to 14 business days. Rush in 5.
Upload art for custom patch shirts. We send a free proof in 24 hours.
No minimum. Free proof in 24 hours. Rush in 5 days.
COMMON QUESTIONS
Patch Placement Questions, Answered
Where is the best place to put patches on a backpack?
Start with the front pocket and top flap. Side panels work for long shapes. Avoid straps and handles, because constant rubbing wears patch edges.
What type of bag is best for putting patches on?
Canvas or cotton twill takes any method. Coated nylon and leather suit sew-on or hook-and-loop. Check your bag fabric before choosing a method.
Can you put patches on bags?
Yes. Choose sew-on, iron-on for cotton canvas, hook-and-loop or adhesive backing. Fabric decides which method holds.
Should you put a patch on the inside or outside of jeans?
Decoration goes outside. A hole repair usually goes behind the hole. The patch then supports the torn weave.
How do I put patches on my jeans?
Pick your spot, pin or tape the patch, then sew or press it. See sewing steps or pressing steps for detail.
How to put a patch on jeans without sewing?
Use iron-on or peel-and-stick backing. Fabric glue works as a stopgap. It usually has a shorter life than thread.
Which glue holds a patch on a backpack or jeans best?
A flexible fabric adhesive works as a stopgap. We do not name brands. Sewing lasts longer than any glue on hard-wear spots.
How do you place a left chest logo patch on a shirt?
Place it on the wearer's left, about 3 to 4 inches wide. Names run smaller. Lay the shirt flat, measure down from the collar seam and photograph before fixing.
Is it worth patching jeans?
Yes, for repairs and for style. A good patch extends the life of a favorite pair. Lifespan depends on method, spot and washing.
How can I permanently apply patches to a leather bag?
Stitching is the lasting method. Glue and heat can mark leather. See our leather patch guide for details.
What are some good patch ideas for backpacks?
Try travel marks, hobby icons, initials, club badges and band logos. Pick one theme, then repeat a color across patches. Keep one hero patch bigger than the rest.
How to decorate a plain backpack?
Start with one hero patch on the front pocket. Add small ones around it. Lay everything flat and photograph before fixing.
How far apart should two patches sit?
Leave at least half an inch between patches. Closer gaps look crowded and can pucker fabric. Lay both flat first and measure.
KEEP EXPLORING