How to Iron On a Patch in 6 Simple Steps
Tools, heat, time and fixes for a patch that stays put.
Learn how to iron an iron on patch in six steps. Use a dry iron, firm pressure and a pressing cloth. Then wait 24 hours before washing.
BEFORE YOU PRESS
What You Need Before You Press
You need few tools. Most are already in your home. Gather them first, so you are not hunting while the iron heats.
Pick a hard surface. A kitchen table works. A padded ironing board soaks up pressure, and the glue needs pressure.
- Household iron, steam off
- Hard flat surface or table
- Pressing cloth or thin cotton
- Your patch and garment
- Clean towel to protect the table
- Timer or phone
- Pre-washed, dry garment
Pre-wash and dry the garment. Skip fabric softener, since it leaves a film. Finishes and lint get in the way of the glue. A clean surface bonds better.
Clear a table, not a bed. A soft surface absorbs heat and pressure. A folded towel works if the board is too springy. Cover it with a flat cotton sheet.
THE 6 STEPS
How to Iron On a Patch: The 6-Step Method
Follow these six steps in order. Do not skip the cloth. Do not skip the back press. Times shown are typical supplier ranges. Always follow the card that came with your patches.
- Preheat and prep
Heat the iron on its dry setting. Pre-iron the garment to remove wrinkles.
- Position the patch
Place it face up on the spot. Check the layout from a step back.
- Cover with cloth
Lay a pressing cloth over the patch. Never press bare thread.
- Press the front
Push down hard for about 30 seconds. Lean your weight on it.
- Flip and press the back
Turn the garment inside out. Press the back for about 30 seconds.
- Cool down
Let it cool for a few minutes. Check each edge before you move it.
Work in a calm spot. Keep pets and kids away from the hot iron. Set the timer before you start. Do not guess the seconds, because rushed pressing is the top cause of lifting.
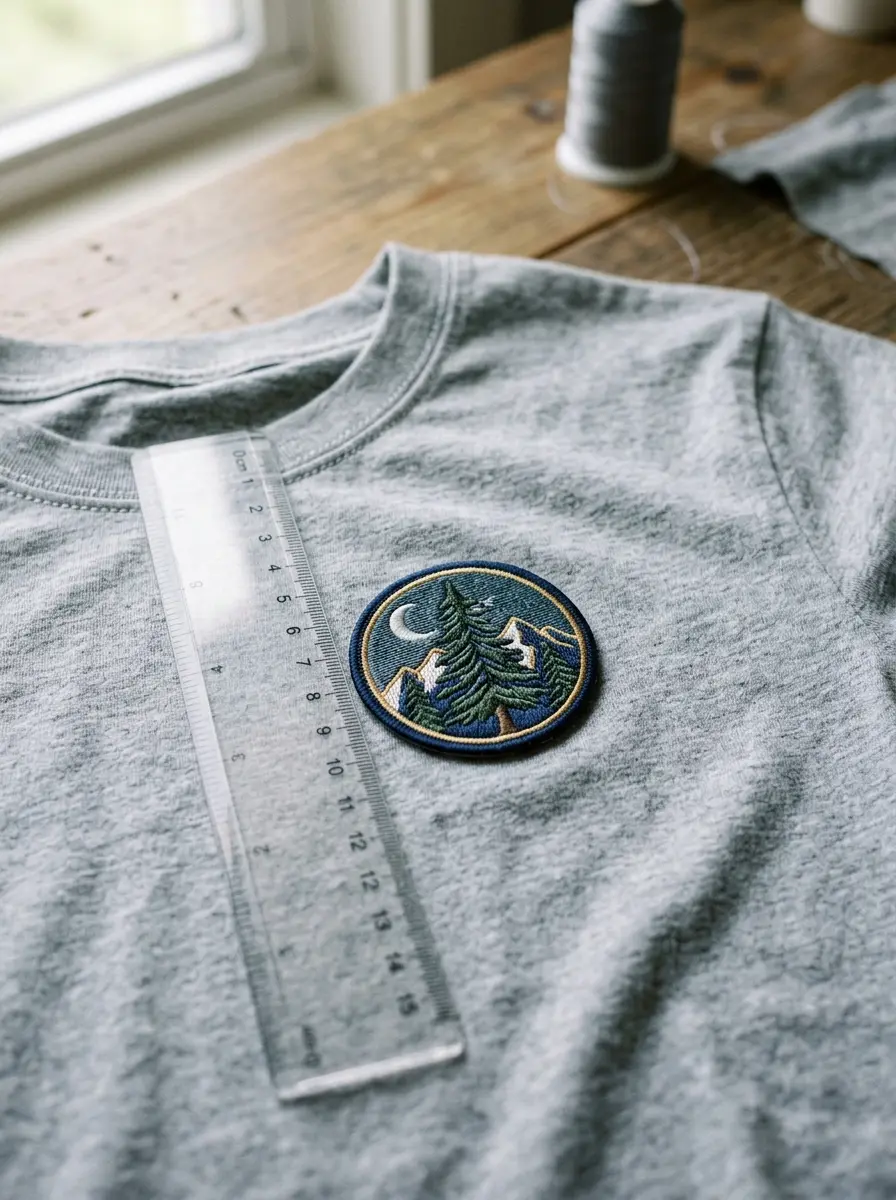

How to Iron On an Embroidered Patch Without Scorching Thread
Thread is polyester. Direct heat can flatten or shine it. A cloth keeps the surface safe. Satin borders show marks most.
- Keep the patch face up.
- Press through the cloth every time.
- Lift and check, do not drag the iron.
- Stop if the thread shines.
Do not slide the iron around. Sliding pushes the patch off its mark. Press straight down, lift, and move to the next area.
THE SCIENCE
How Do Iron-On Patches Work? Heat, Glue and Cooling
People ask how do iron on patches work. The back holds a layer of heat-activated glue. Heat melts it. Cooling sets it.
- Melt
- Heat softens the adhesive until it flows.
- Bond
- Pressure pushes it into the fabric fibers.
- Set
- Cooling hardens it into a grip.
Steam adds water, and water weakens the bond. That is why you use a dry iron. Learn more about the backing on our iron-on patch page. Fabric type decides the right heat. Check the next section for ranges.
HEAT BY FABRIC
Heat and Time by Fabric
This section shows how to use an iron on patch on common fabrics. Heat and time vary by supplier. Follow your product card first.
| Fabric | Heat | Time | Note |
|---|---|---|---|
| Cotton | 375-400 F | About 30 sec | Most forgiving |
| Denim | 375-400 F | About 30 sec | Press seams flat |
| Polyester | 250-280 F | Shorter press | Test a hidden spot |
| Wool | Medium | Use a cloth | Do not scorch |
| Nylon | Not suitable | None | Sew instead |
| Leather | Not suitable | None | Sew instead |
Cotton and denim take the most heat. Polyester needs far less. Wool sits between them and needs a cloth.
- Do not press waterproof shells or rain gear.
- Check blends. Low-melt synthetics can shine or melt.
Not sure of your fabric? Read the garment tag. When in doubt, use sewn patches instead.
HATS AND CAPS
How to Iron a Patch on a Hat or Cap
Crowns curve, so contact is uneven. Go slowly and press in small parts. Check the bond after each section.
Caps are the hardest place to press. The crown has seams and a curve. The brim gets in the way of the iron.
- Stuff the crown with a rolled towel.
- Place the patch and cover it with a cloth.
- Press one small section at a time.
- Let the cap cool before you move it.
- Small patches fit the curve better.
- Keep the contact area small.
- Rotate the cap between presses.
Caps have curved panels. Press from the inside with a rolled towel behind the panel. Work in short passes. Let the brim cool before you flip it.
IRON VS PRESS
Household Iron or Heat Press?
Wondering how do you apply an iron on patch at scale? A press gives even pressure. An iron relies on your body weight. For a few patches, an iron is fine.
| Factor | Household iron | Heat press |
|---|---|---|
| Heat | Dial setting | Set to 325 F |
| Pressure | Your body weight | 70-80 PSI |
| Time | About 30 sec per side | 15-20 sec |
| Best for | One or two patches | Batches of garments |
The press figures come from one supplier. Your patches may differ. Check your card.
- Use the iron for one or two patches.
- Use a press for a team order.
- Always press from the back too.
FIX IT
Six Iron-On Mistakes and How to Fix Them
Most failures have a simple cause. Match what you see to the table. Fix the cause, then press again.
| Problem | Cause | Fix |
|---|---|---|
| Edges lift | Not enough pressure | Press again from the back |
| Patch slides off | Glue never melted | Add heat and time |
| Shiny thread | Bare iron contact | Use a pressing cloth |
| Melted fabric | Heat too high | Lower heat, test first |
| No bond | Steam in the iron | Use the dry setting |
| Peeled in wash | Washed too soon | Wait 24 hours |
- Is the surface hard and flat?
- Is the iron dry, with steam off?
- Did you press the back too?
- Did you wait for it to cool?
AFTERCARE
After Pressing: Wait 24 Hours, Then Wash Cold
The glue keeps curing after it cools. Give it a full day before laundry. Hot water and long spins are the next risk. Be patient.
24 hours before the first wash.
Cold water, inside out.
Air dry when you can.
A few stitches for hard wear.
- Wait 24 hours before washing.
- Wash cold, inside out.
- Air dry if you can.
- Add edge stitches for hard wear.
Treat a new patch gently for the first few washes. Avoid bleach and hot dryers. Check the edges after each wash. If a corner lifts, press it again or stitch it down.
Need to take a patch off later? See removal and care for the safe way.
READY TO ORDER
Want Iron-On Backing on Your Own Design?
Upload Artwork
Send any common file format.
Approve Your Proof
Free digital proof within 24 hours.
We Ship Worldwide
Standard 10 to 14 business days. Rush in 5.
We make iron-on patches from your artwork, from one patch up.
No minimum. Free proof in 24 hours. 10-14 business days.
COMMON QUESTIONS
Iron-On Patch Questions, Answered
How to correctly apply an iron-on a patch?
How do I iron on a patch? Preheat a dry iron. Cover the patch with a cloth. Press the front, then the back. Let it cool. The six steps show each part.
Do I need water in my iron to iron on patches?
No. Use a dry iron with the steam off. Steam adds water and stops the glue from bonding. Empty the tank if you can, then wait for full heat.
How long should you hold the iron on a patch?
About 30 seconds on the front, then about 30 seconds on the back. Supplier ranges vary from 10 to 60 seconds, so follow your card. Press harder, not longer, if edges lift.
What should I do if my iron-on patch won't stick?
Press longer with firm pressure on a hard surface, from the back. Use a cloth. If edges still lift, add a few stitches around the border.
Is a pressed-on patch permanent or temporary?
Durable, not permanent. Heat bonds it well, and edge stitches extend its life. Cotton and denim hold best. We do not claim a set number of washes.
What are common mistakes when using iron-on patches?
Steam, a soft board and a short press top the list. So do no cloth, hot synthetics and early washing. Each one weakens the bond.
Can you iron a patch onto a hat or cap?
Yes. Stuff the crown with a rolled towel and press small sections at a time. Cover the patch with a cloth. See the hat section above for the full method.
How soon can I wash a garment after ironing on a patch?
Wait 24 hours. Then wash cold, inside out. Air drying is gentler on the glue. Skip hot dryers for the first few washes.
Is a pressing cloth needed for an iron-on patch?
A thin cotton cloth protects the patch face. It also spreads heat evenly. Press through it on delicate fabric. Skip it only when the patch is heat safe.
Can you use a hair straightener on a small patch?
It can work on tiny patches and tight spots. Press hard for the full time. Move to a flat iron for anything wider than the plates. Check the bond once cool.
KEEP EXPLORING