How to Make Patches: DIY Methods and When to Order Custom
Four DIY routes, their real limits, and when ordering wins.
You can make patches at home. This guide shows how to make patches four ways. It also shows where DIY stops and ordering wins.
YOUR OPTIONS
How to Make Embroidered Patches: DIY or Made to Order?
Pick your route before you pick your thread. Each route trades setup time for finish and repeat quality.
Both routes work. Your pick depends on three things. How many pieces you need. How fine the detail is. How soon you need them.
| Factor | DIY at home | Made to order |
|---|---|---|
| Setup | Machine or supplies | Handled by the maker |
| Edge finish | Hand cut or satin border | Merrowed or cut edge |
| Repeat quality | Varies piece to piece | Same result every piece |
| Color match | Thread shades you own | Pantone-matched proof |
| Backing | Iron-on film or none | Chosen at order |
| Time | Hours per patch | 10-14 business days |
| Skill | Learning curve | None needed |
| Quantity | One to a handful | 1 to 100,000 pieces |
Look at the table rows that matter to you. Edge finish and repeat quality decide most orders. Time decides the rest.
A home build suits one patch and a weekend. Orders suit logos, clubs and anything you need twice.
Pros
- Cheap for one patch
- Total control of the design
- Ready the same day
- Fun to learn
Limits
- Slow past a few pieces
- Edges vary from patch to patch
- Small text blurs
- Colors depend on your thread stash
Made to order has no minimum, from 1 to 100,000 pieces. Want sourcing options? See our guide to sourcing routes.
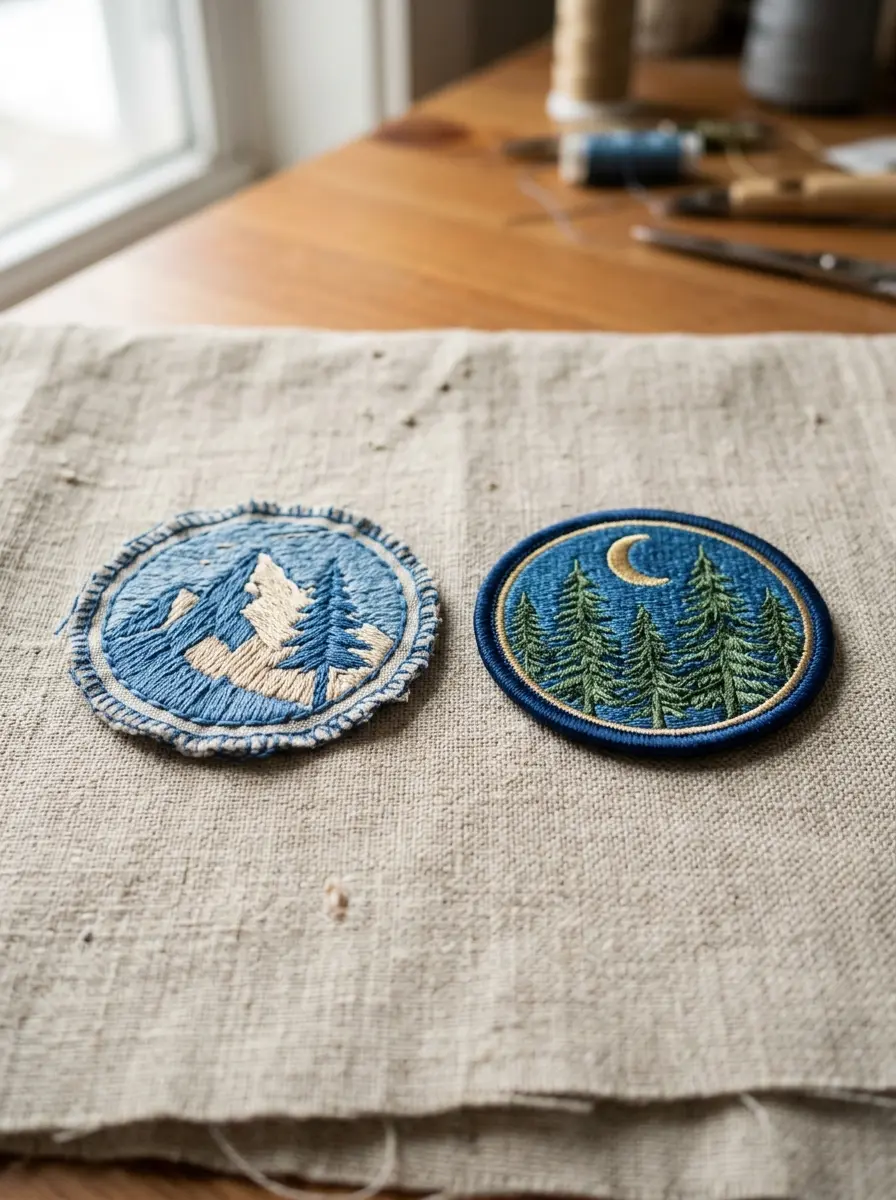
Still deciding? Read on. Each method below shows real steps and real limits. The later sections show when ordering is the smarter move.
MATERIALS
What You Need Before You Start: Twill, Stabilizer, Thread and Backing
To learn how to make embroidered patches, start with a shopping list. Four things matter: base fabric, stabilizer, thread and backing. Skimp on one and the patch suffers. Twill that frays ruins good stitching. A weak stabilizer lets the design pucker.
Base Fabric: Polyester Twill, Felt, Canvas or Denim
| Fabric | Feel | Fray risk | Best for |
|---|---|---|---|
| Polyester twill | Smooth, firm | Low | Classic patch look |
| Felt | Soft, thick | Medium, pills | Beginners |
| Canvas | Rugged | Medium | Bags and jackets |
| Denim | Heavy | Medium | Rugged patches |
| Cotton | Light | High | Printed transfers |
Twill is the standard base. It cuts clean and holds a tight satin border. Felt cuts easily but pills with wear.
Stabilizer: Tear-Away, Water-Soluble or Cut-Away
| Type | Leaves edge | Best fabric | Drawback |
|---|---|---|---|
| Tear-away | Slight fuzz | Stable twill | Can distort stitches |
| Cut-away | Trimmed edge | Stretchy cloth | Stays behind stitching |
| Water-soluble | Thread-only edge | Lace style patches | Dissolves, needs rinsing |
| Adhesive-backed | Sticky hold | Small scraps | Gums needles |
Felt suits a first try. Twill suits a patch you plan to wear daily.
Stabilizer holds the cloth flat while the needle works. The wrong type distorts the design. Water-soluble film suits thread-only patches.
Thread and the 3 mm Satin Border
- Polyester thread
- Resists fading and washing. The usual patch choice.
- Rayon
- Glossy sheen. Less tough in the wash.
- Satin border
- Aim for at least 3 mm wide. It seals the edge.
- Underlay
- A base layer of stitches. It stops gaps and puckers.
- Stitch density
- How tightly stitches pack. Too loose shows gaps. Too tight stiffens the patch.
- Thread weight
- Heavier thread fills faster but blurs small text.
Backing comes last. Choose it by how you plan to attach the patch.
- Iron-on film: quick attach, lighter hold
- Plain twill back: made for sewing
- Hook-and-loop: removable, needs stitching
Keep a small scrap box. Offcuts of twill and felt make perfect test pieces.
Compare more choices in our backing guide.
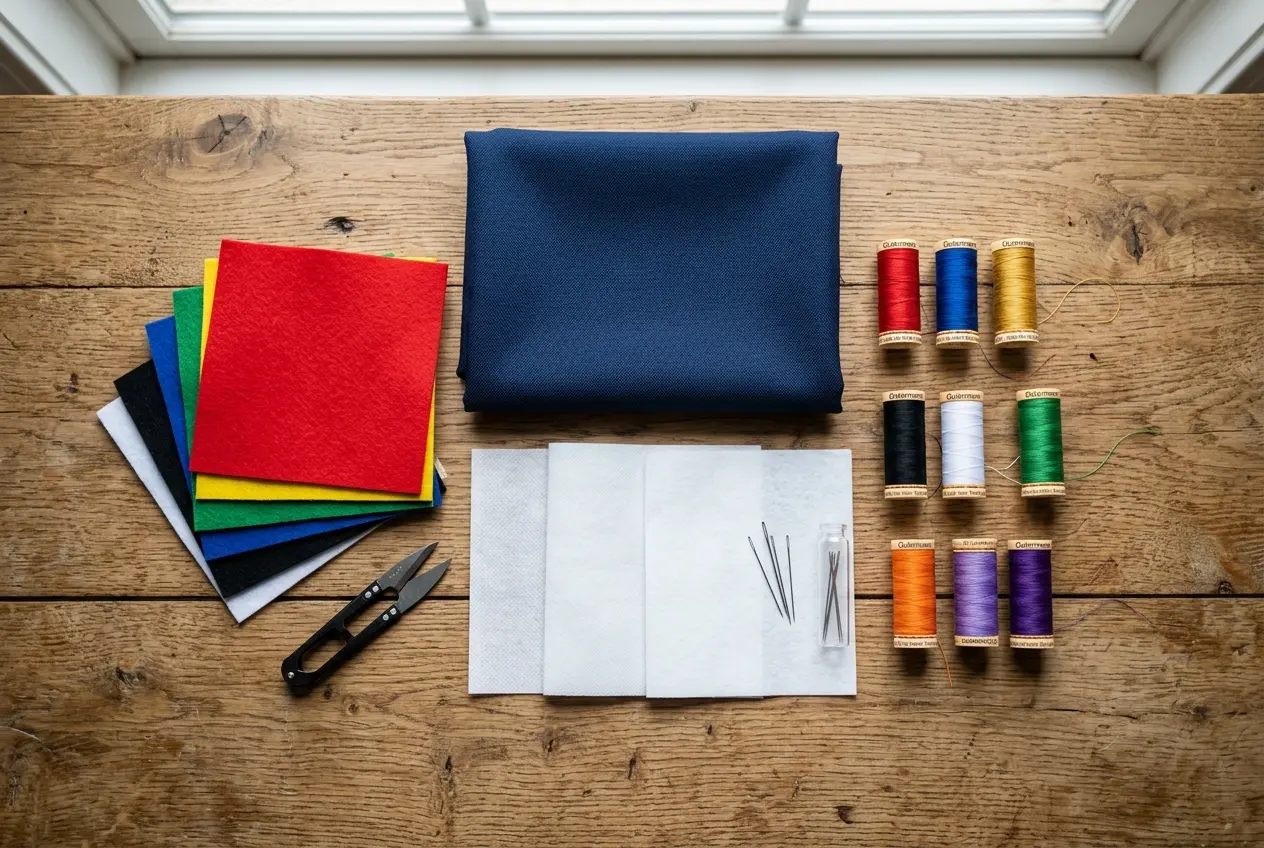
Buy small amounts first. Many suppliers sell thread in single cones. Stabilizer comes in sheets or rolls. Start with cut-away for most twill work.
MACHINE METHOD
How to Make a Patch on an Embroidery Machine in 7 Steps
A single-needle home machine can stitch a basic patch. You need a design file and a hoop bigger than the patch.
Digitizing turns art into stitch paths. The software sets stitch type, direction and density. Simple shapes digitize best.
- Keep the design bold and simple
- Use few colors
- Keep letters large
- Leave room for the border
Keep notes on each test. Write down the thread, the needle and the speed. Your best settings become your recipe.
Steps 1 to 3: Hoop the Fabric, Stitch the Placement Line, Tack Down
Here is how to make patches with embroidery machine basics in order. Number them as you go.
- Digitize your artwork into a stitch file.
- Hoop twill with stabilizer, drum tight.
- Stitch the placement line.
- Tack the fabric down.
Hooping matters most. Fabric must sit drum tight. Loose cloth puckers around the stitches. The placement line shows where the patch will end.
Steps 4 to 7: Stitch the Design, Add the Satin Border, Release
- Step 4: stitch the design in color order
- Step 5: sew the satin border over the edge
- Step 6: remove the hoop and stabilizer
- Step 7: trim threads and the fabric edge
Leave a small margin when you trim. Cutting into the border ruins the edge. A dab of fray sealant on the cut edge helps.
Thread-Only and Hot-Knife Variants
| Variant | How it works | Watch for |
|---|---|---|
| Satin border | Stitch over cut twill | Fuzz if trimmed close |
| Thread-only | Stitch on water-soluble film | Fragile without a dense fill |
| Hot knife | Melt-cut the finished edge | Needs a ventilated space |
| Free-standing lace | Dense stitching, no cloth | Needs strong digitizing |
- Practice on scrap twill
- Log your settings
- Clean lint from the bobbin area
Thread-only patches stitch on water-soluble film. The film dissolves and leaves only thread. They look lacy and need dense stitching to hold.
Pick the variant by look. Satin border patches are the easiest place to start.

Clean the bobbin area after each patch. Lint builds up fast around stabilizer. A clean machine keeps stitches even.
HAND METHOD
DIY Embroidered Patches by Hand: Felt, Floss and Backstitch
No machine? Hand work still makes a sturdy patch. Felt and floss are cheap and forgiving.
Hand work takes patience. Expect slow progress. The handmade look is part of the charm.
How to Make Embroidered Patches by Hand in 6 Steps
Learn how to make an embroidered badge. You need a hoop, a needle and a pen.
- Draw the design with a water-soluble pen.
- Hoop felt or twill, drum tight.
- Split six-strand floss to two or three strands.
- Stitch details in backstitch, fill with satin stitch.
- Seal the edge with a blanket stitch.
- Trim close and press flat.
Keep stitches even in length. Pull thread firm, not tight. Tight stitches pucker the felt.
| Stitch | Use | Look |
|---|---|---|
| Backstitch | Outlines and letters | Solid line |
| Satin stitch | Filled shapes | Smooth and glossy |
| French knot | Eyes and dots | Raised bead |
| Blanket stitch | Edge sealing | Looped border |
Mix stitches in one patch. Backstitch gives clean outlines. Satin fills big shapes. French knots add small dots.
- A small embroidery hoop
- A needle with a big eye
- Six-strand cotton floss
- A water-soluble marking pen
Felt is soft and cheap. Twill holds a sharper border. Try both on a scrap before you commit.
- Trim loose threads
- Press gently from the back with a cloth
- Add iron-on film or stitch it on

Wash your hands before you start. Skin oils can stain pale felt. Keep your floss in a small bag between sessions.
NO-MACHINE ROUTES
How to Make Your Own Patches Without a Machine: Transfer Paper, Cricut and Appliqué
Three routes skip stitching machines. Each has honest limits.
Print on transfer paper. Press onto cotton. Stitch the edge.
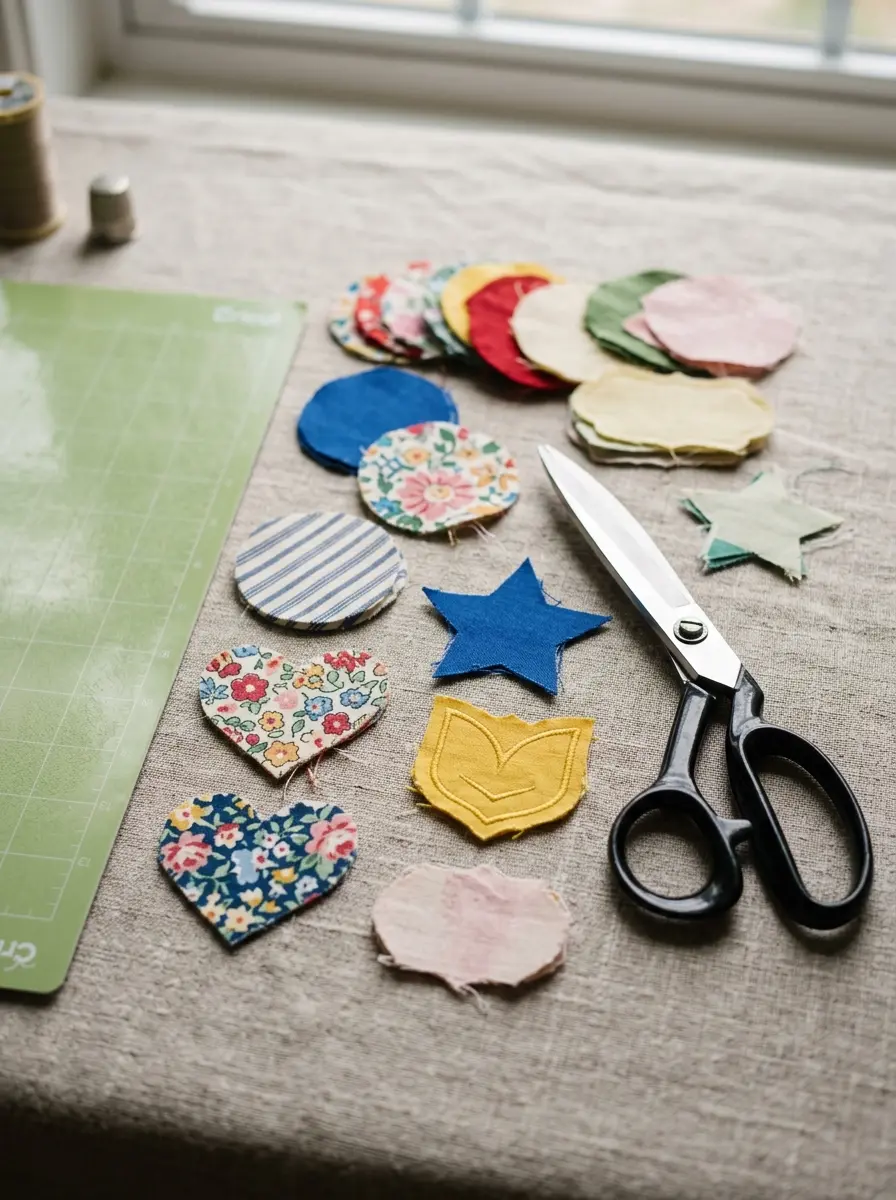
A Cricut cuts and layers patch fabric. It cannot stitch.
Layer felt with fusible web. Seal with a blanket stitch.
Pick by look. Transfers carry photos and gradients. A Cricut suits clean shapes. Appliqué gives a soft, layered feel.
Printable Transfer on Cotton With Fusible Interfacing
Here is how to make a cloth patch with an ink-jet printer. Print a mirrored design on transfer paper.
- Print the design mirrored on transfer paper.
- Iron the paper onto white cotton.
- Let the ink cure for 24 hours.
- Fuse interfacing behind the cotton.
- Cut out and zigzag stitch the edge.
Fusible interfacing stiffens the cloth. It also stops the edge from curling. A zigzag stitch around the border keeps it sealed.
What a Cricut Can and Cannot Do for Patches
| Task | Can it? |
|---|---|
| Cut patch shapes | Yes |
| Layer iron-on patch fabric | Yes |
| Stitch thread designs | No |
| Make a raised satin border | No |
| Mirror the design for you | Do not mirror patch fabric |
Compare the three before you start. Skill, look and limit decide the winner.
| Method | Skill | Best for | Main limit |
|---|---|---|---|
| Transfer | Low | Photos, gradients | Plastic feel |
| Cricut | Medium | Clean shapes | No stitching |
| Appliqué | Low | Soft layered looks | Pills with wear |
A Cricut prepares shapes. A needle must still seal the edge. Cut-only edges can fray.
Felt Appliqué With Fusible Web and Blanket Stitch
- Cut shapes with pinking shears
- Fuse each layer with web
- Seal edges with blanket stitch
- Expect felt to pill with wear
Keep expectations realistic. These routes make a nice one-off. They do not match a stitched, merrowed edge.
Appliqué looks soft and layered. It suits kids' clothes and craft projects. It is not built for hard wear.
PATCH TYPES
Which Patch Types Can You Make at Home?
Here is how to make clothing patches that your tools can handle. Each patch type needs different gear. Sublimation, for example, needs heat and a polyester base. Some types need factory gear.
| Type | Home build? | Gear needed | Honest note |
|---|---|---|---|
| Embroidered | Yes | Embroidery machine or needle | Best for small runs |
| Felt | Yes | Needle and floss | Pills with wear |
| Printed | Yes | Printer and transfer paper | Plastic feel |
| Sublimation | Limited | Heat press, polyester base | Dye bonds to polyester only |
| Chenille | Rarely | Chain-stitch machine | Not a home machine |
| PVC | Rarely | Molds and rubber | Factory process |
| Woven | No | Jacquard loom | Needs industrial gear |
| Leather | Yes | Sharp knife, punch | Cut shapes only |
| Heat-transfer vinyl | Yes | Cutter and heat press | Flat and glossy |
- Embroidered: start here
- Felt: easiest hand route
- Everything else: order it
Leather patches are cut shapes with stamped or stitched details. A sharp knife and a steady hand do the job.
Embroidered and felt are the true home routes. The rest need gear most homes lack. Home stand-ins can imitate chenille or PVC looks, but only the finish.
- Chenille: see chenille patch options
- Woven: see woven patch options
- PVC: see PVC patch options
Check your tools against the type before you buy supplies. A hot press helps with heat transfer work. A basic iron can cover small jobs.
COST VIEW
What It Costs to Make One Patch at Home vs Order It
Knowing how to make a clothing patch cheaply comes down to parts. Count supplies and your time.
| Component | At home | Ordered |
|---|---|---|
| Digitizing | Software or a fee | Handled by the maker |
| Stabilizer | Per sheet | Included |
| Thread | Per spool | Included |
| Machine time | Your hours | None |
| Setup | None | None |
| Per-piece price | Falls slowly | Falls with volume |
Remember the cost of a failed try. Many people stitch several patches before one looks right.
Time is the hidden cost. Digitizing takes practice. A failed patch wastes thread and stabilizer.
- One patch: DIY is usually cheaper
- Twenty-five or more: ordering saves hours
- Logo patches: ordering wins on repeats
Volume changes the math. Our price per patch falls as the quantity rises.
DIY LIMITS
Where DIY Stops: Six Limits You Will Hit
Home gear hits a ceiling fast. Know the limits before you commit.
- Letters smaller than a thumbnail blur
- Stitches bunch on tight curves
- Your tenth patch differs from your first
- The border keeps fraying
Fine detail fails first. Color count fails next. Edge finish is the one people notice from across a room.
None of these means you failed. They mean the job outgrew the tool.
- Tiny text. Thread is thick, so small letters blur. Keep letters large.
- Color count. Each color means a thread change. More colors, more time.
- Edge finish. Home borders rarely match a factory edge.
- Repeat match. Patch ten looks different from patch one.
- Speed. One needle makes one patch at a time.
- Backing. Home backing is usually basic film.
This is why many home builds stay a hobby. Each limit has a factory fix.
| Limit | Why | Factory fix |
|---|---|---|
| Tiny text | Thick thread | Digitized fine detail |
| Color count | Manual swaps | Multi-needle machines |
| Edge finish | Hand trimming | Merrowed border |
| Repeat match | Hand variation | Stored stitch file |
| Speed | One needle | Multi-head machines |
| Backing | Basic film | Backing chosen at order |
Each limit has a cause. Each cause has a fix in a factory. That is why logos and club patches are usually ordered.
Color matching is another limit. Home thread charts rarely match a brand color exactly. Factories match to a Pantone reference.
FIX IT
Troubleshooting Homemade Patches: Fraying, Puckering and Curling
Most how to make patches embroidery machine trouble is tension or stabilizer. Check these first.
| Problem | Cause | Fix |
|---|---|---|
| Fraying edge | Thin border | Widen to 3 mm |
| Puckering | Loose hoop | Hoop drum tight |
| Curling | No stabilizer | Add cut-away |
| Thread breaks | Dull needle | Swap the needle |
| Gaps at border | No underlay | Add underlay |
| Bird nesting | Wrong tension | Rethread the machine |
| Fuzzy edge | Trimmed too close | Trim just outside the border |
| Misaligned outline | Fabric shifted | Re-hoop and use tack-down |
- Check the hoop first
- Check the stabilizer second
- Check the border last
- Swap the needle often
Test one change at a time. Changing three things hides the real cause.
Work through problems in order. Fix the hoop, then the stabilizer, then the border. Change one thing per test patch.
- Test on scrap fabric first
- Use a fresh needle
- Keep the hoop tight
Most fixes are cheap. A new needle and a tighter hoop solve most problems. Only chronic fraying needs a design change.
FACTORY PROCESS
How Professional Patches Are Made
Factories follow a set order. Every step protects the result.
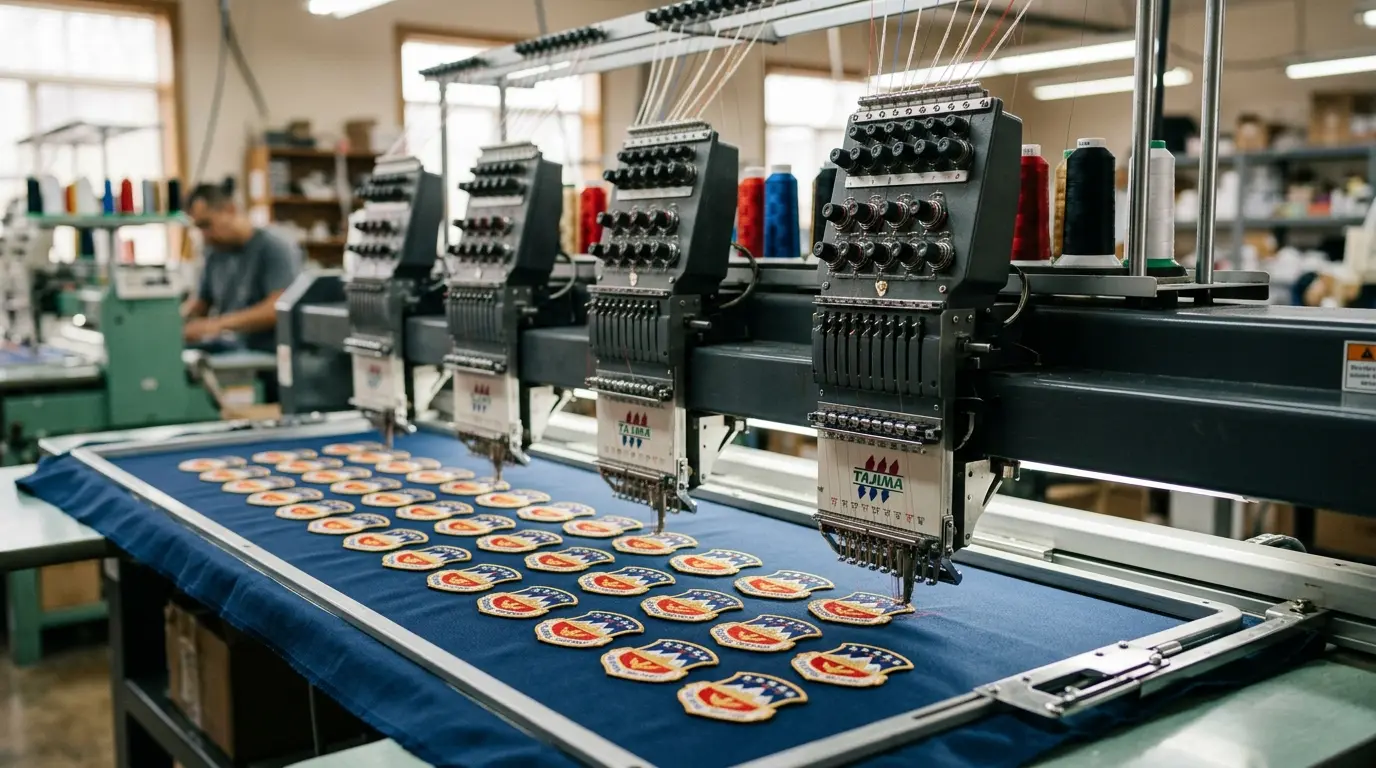
Factories add steps you cannot copy at home. Multi-head machines stitch many patches at once. A stored stitch file repeats the same design every run.
How to Make Custom Patches at Factory Scale: Digitising to Cutting
- Receive vector art or a high-quality image.
- Digitize the art into a stitch file.
- Match colors to Pantone shades.
- Send a free digital proof.
- Stitch sheets on multi-head machines.
- Add the merrowed border.
- Cut and attach the backing.
- Check quality and pack.
Proof first, thread second. That order saves rework. You approve the look before production begins.
Every order starts with your artwork. We accept AI, EPS and PDF files. PNG, JPG, SVG, PSD, BMP and TIF also work.
Merrowed Edge, Laser Cut and Backing Options
| Option | Look | Best for |
|---|---|---|
| Merrowed edge | Raised thread border | Classic patches |
| Laser cut | Sharp, flat edge | Fine shapes |
| Iron-on backing | Heat adhesive | Fast attach |
| Sew-on backing | Plain twill back | Sewn on |
| Hook-and-loop backing | Fuzzy loop side | Removable patches |

- Vector art
- Sharp lines that scale. AI, EPS and PDF are best.
- Raster art
- PNG or JPG. Higher resolution gives cleaner edges.
- Pantone match
- Colors matched to Pantone shades on the proof.
- Colors and color count
- Size and shape
- Text and spelling
- Border and backing
A proof lets you fix mistakes before any thread is stitched. Revisions are unlimited and free.
Backing choices are covered in our backing guide. For finished results, see made-to-order embroidered work.
DECISION AID
DIY or Order? A Five-Question Checklist
Use this checklist to see whether diy custom patches suit your job. Answer yes or no.
Your answers matter more than any rule. Be honest about time and budget.
- Do you need more than 30 pieces?
- Is this a logo that must match each time?
- Does the patch need fine text?
- Do you need it by a firm date?
- Will you sell or resell it?
Two or more yeses point to ordering. Zero or one points to DIY.
| Job | Best route | Why |
|---|---|---|
| One-off gift | DIY | Low stakes |
| Club of 30 | Order | Matching pieces |
| Business logo | Order | Brand color match |
| Resale line | Order | Repeat quality |
| Cosplay | DIY or order | Depends on detail |
Read the result honestly. Ordering costs money. DIY costs time. Both are valid.
Ready to order? Start with the patch design tool or compare bulk orders.
READY TO ORDER
Skip the Trial and Error: Order Your Design as a Made-to-Order Patch
Upload Artwork
Send any common file format.
Approve Your Proof
Free digital proof within 24 hours.
We Ship Worldwide
Standard 10 to 14 business days. Rush in 5.
Send your artwork. Get a free Pantone-matched proof before production starts.
No minimum, 1 to 100,000. Free proof in 24 hours. Unlimited free revisions. Duty-free shipping worldwide.
COMMON QUESTIONS
DIY Patch-Making Questions, Answered
What are the steps to make an embroidered patch on a machine?
Readers ask how do you make embroidered patches on a machine. Digitize the art. Hoop twill with stabilizer. Stitch the design, add a satin border, then trim. The seven machine steps above show each move.
What machine do I need to make custom patches?
You need a single-needle embroidery machine. Its hoop must be larger than your patch. Hand embroidery, transfer paper and appliqué need no machine. Pick the route that fits your skill and your time.
Can I use an embroidery machine to make patches?
Yes. Follow the seven machine steps. Watch two limits: tiny text and the 3 mm satin border. Stitch a test patch on scrap twill first. It saves thread and tells you what to fix.
Can you make patches without an embroidery machine?
Yes. Use hand embroidery, printable transfer on cotton with fusible interfacing, or felt appliqué. Each route has limits on edge finish and fine detail. Choose by your skill, your tools and your deadline.
Can you make patches with a Cricut machine?
A Cricut cuts and layers patch fabric. It cannot stitch thread. Do not mirror the design for patch fabric. Let printed transfers cure for 24 hours. Seal the edge with a needle if you want it to last.
Which machine stitches chenille patches?
Chenille usually needs a chain-stitch machine with looped yarn. A home embroidery machine cannot do it. Read about chenille patch options for that raised, fuzzy look.
What material is best for DIY patches?
Polyester twill gives the classic look. Felt is easiest for beginners. Canvas and denim suit rugged patches. Pick by wear and by how neat you want the edge.
What is the best material for embroidery patches?
Use a twill base with polyester thread. Add a cut-away or tear-away stabilizer behind it. Twill cuts clean and holds a tight satin border. Polyester thread resists fading in the wash.
Which fabrics take sewn-on patches most easily?
Woven cotton, denim and canvas take stitches easily. Stretch fabric needs stabilizer behind the patch. Leather needs a special needle. See the sew-on guide for stitch advice.
What is the best material for sublimation patches?
White polyester-based fabric or twill works best. Sublimation dye bonds to polyester. Cotton gives weak, faded color. Always test on a scrap before you press the real patch.
What does it cost to stitch one patch at home?
Count stabilizer, thread and machine time. There is no setup fee at home. Your hours are the biggest cost. Compare the total with our pricing page before you decide.
Do I need to digitise my design before stitching a patch?
Yes for machines. Your artwork becomes a stitch file. Hand and transfer routes need no digitizing. Factories digitize vector art for you, so you only send the file.
Why do my homemade patches fray at the edge?
The satin border is probably too thin, or the underlay is weak. Use a 3 mm border and a cut-away stabilizer. Trim after stitching, not before. Sealant on the cut edge helps too.
How long does one patch take to stitch at home?
Once the machine is set up, a small design often takes under an hour. Digitizing, hooping and trimming add time. Satin borders stitch slowest. Allow extra time for a first try.
Which embroidery thread is best for homemade patches?
Polyester embroidery thread suits patches. It resists fading and survives washing. Rayon shines but frays sooner. A 40 weight thread works for most designs.
Can I cut a patch from an old shirt or jeans?
Yes. Denim and cotton scraps make good bases. Back them with fusible interfacing so the cloth does not stretch. Avoid stretch knits. They distort under the needle.
KEEP EXPLORING