Custom Iron On Patches for Cotton and Denim
Heat-seal backing, made from your artwork, from one patch up.
Customizable iron on patches made from your artwork. Heat-seal backing bonds to cotton and denim. Free proof in 24 hours, no minimum order.
THE BOND
How Heat-Seal Backing Bonds an Iron-On Patch to Fabric
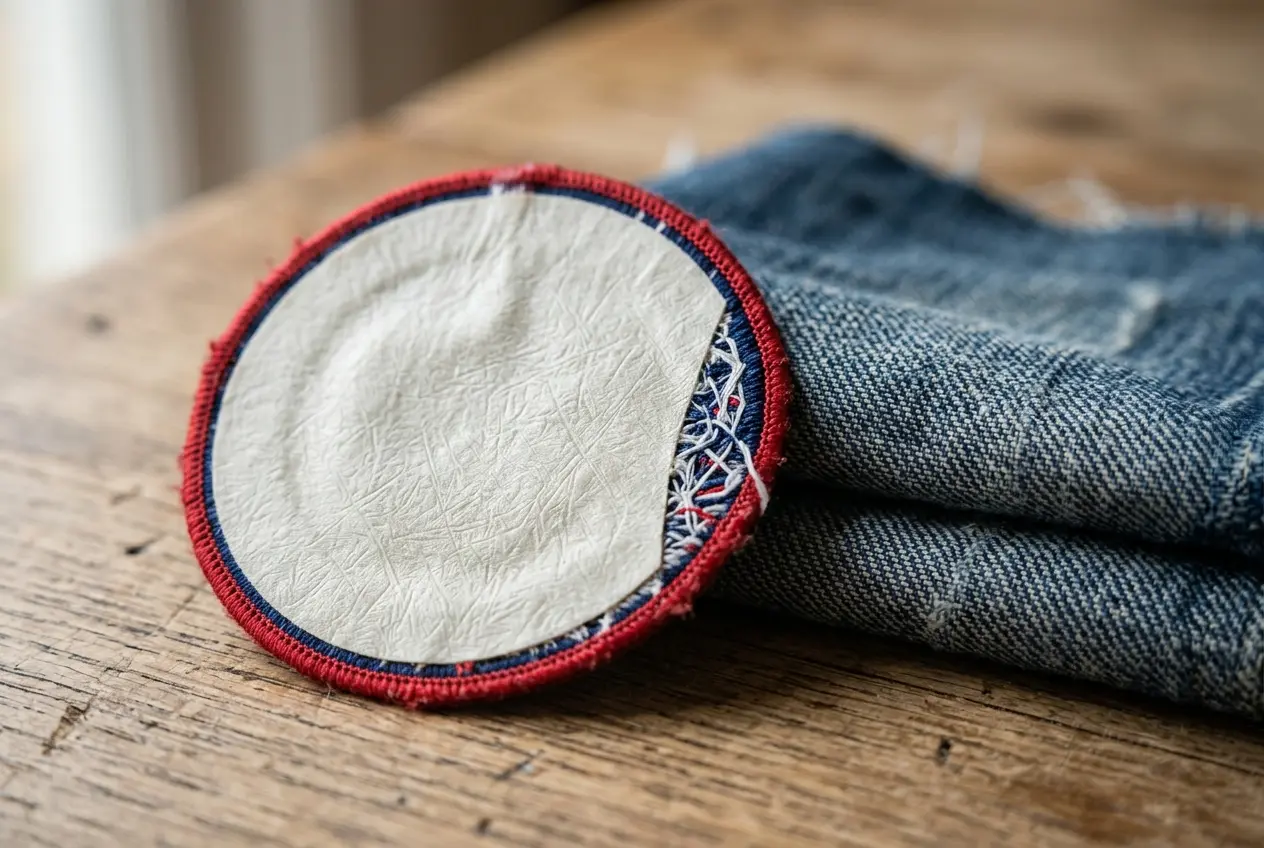
Heat-seal backing is a thin adhesive layer on the back of the patch. It sits dry until you add heat. Then it turns soft and tacky.
What the Adhesive Layer Does When It Heats Up
The adhesive melts into the weave. As it cools, it grips the fibers. That grip holds custom patches iron on garments with no needle.
We build every design as custom made iron on patches. The backing is cut to match your shape. The patch face stays on top, and the glue stays underneath.
- Adhesive
- A heat-activated glue layer on the back.
- Heat
- Softens the glue so it can flow.
- Pressure
- Pushes the glue into the fabric weave.
- Time
- Lets the glue soak in before it cools.
- Dwell
- How long the press stays down.
Why Heat, Pressure and Time Work as a Set
Miss one and the bond stays weak. Low heat leaves the glue stiff. Soft pressure leaves gaps. A short press leaves it half melted.
This is why a quick swipe with an iron fails. The glue never gets the full set. Think of it as a small recipe with three parts.
- Heat softens
The glue turns tacky and starts to flow.
- Pressure seats
The glue fills the gaps between fibers.
- Cooling locks
The glue hardens and grips the cloth.
Pros
- Quick to apply at home
- No sewing skill needed
- Flat, clean finish on cloth
Limits
- Heat limits some fabrics
- Edges can lift under hard wear
- Needs a hard pressing surface
FABRIC VERDICTS
Which Fabrics Hold an Iron-On Patch and Which Do Not
Flat woven cloth holds the glue best. Stretch, slick and sealed fabrics fight it. Check your garment tag before you order.
The tag lists the fiber content. Look for cotton, denim or canvas. A high polyester or nylon share is a warning sign.
| Fabric | Verdict | Why | Better option |
|---|---|---|---|
| Cotton | Best | Takes heat well | Iron-on works |
| Denim | Best | Thick weave grips glue | Iron-on works |
| Canvas | Good | Firm, flat weave | Test a corner first |
| Polyester blend | Test first | Heat can mark or melt | Low heat or sew-on |
| Nylon | Poor | Melts under heat | Sew-on patches |
| Stretch spandex | Poor | Fabric moves, glue cracks | Sew-on or velcro |
| Waterproof shell | No | Heat ruins the coating | Sew-on patches |
| Fleece or rough knit | Poor | Glue cannot reach fibers | Sew-on patches |
Leather and corduroy need care too. The surface is uneven or heat sensitive. See sew-on patches for those.
Iron-on will not stick well to these:
- Nylon jackets and windbreakers
- Rain shells with sealed seams
- Stretch leggings and sportswear
- Leather and faux leather
- Slick satin and silk blends
None of these fail because of the patch. They fail because of the heat. A needle solves all four.
- Read the fiber tag.
- Press a scrap or hidden hem.
- Check for shine or shrink.
- Wait until fully cool.
- Test a hidden spot first.
- Let the patch rest flat.
GARMENT GUIDE
Custom Iron On Patches for Clothes: Jeans, Jackets, Hats and Shirts
Iron-on suits flat cotton and denim best. Here is how it behaves on four common garments.
Iron-On Patches for Jeans and Denim Jackets
Denim is the easy win. The thick twill takes heat and grips the glue. Back pockets and jacket sleeves work well. Avoid thick seams, since the iron cannot press them flat.
Iron-On Patches for Hoodies and Sweatshirts
Cotton fleece is fuzzy. Fibers stand between the glue and the cloth. Press flat, then add a few stitches. Polyester fleece is riskier, so test a hidden spot.
Custom Iron On Patches for Hats and Caps
Crowns curve, so contact is uneven. Small patches sit better than big ones. Our hat patch page covers caps in depth.
Stuff the crown with a rolled towel when you press. Work in small sections. That keeps the glue in full contact.
Iron-On Patches for T-Shirts and Cotton Tees
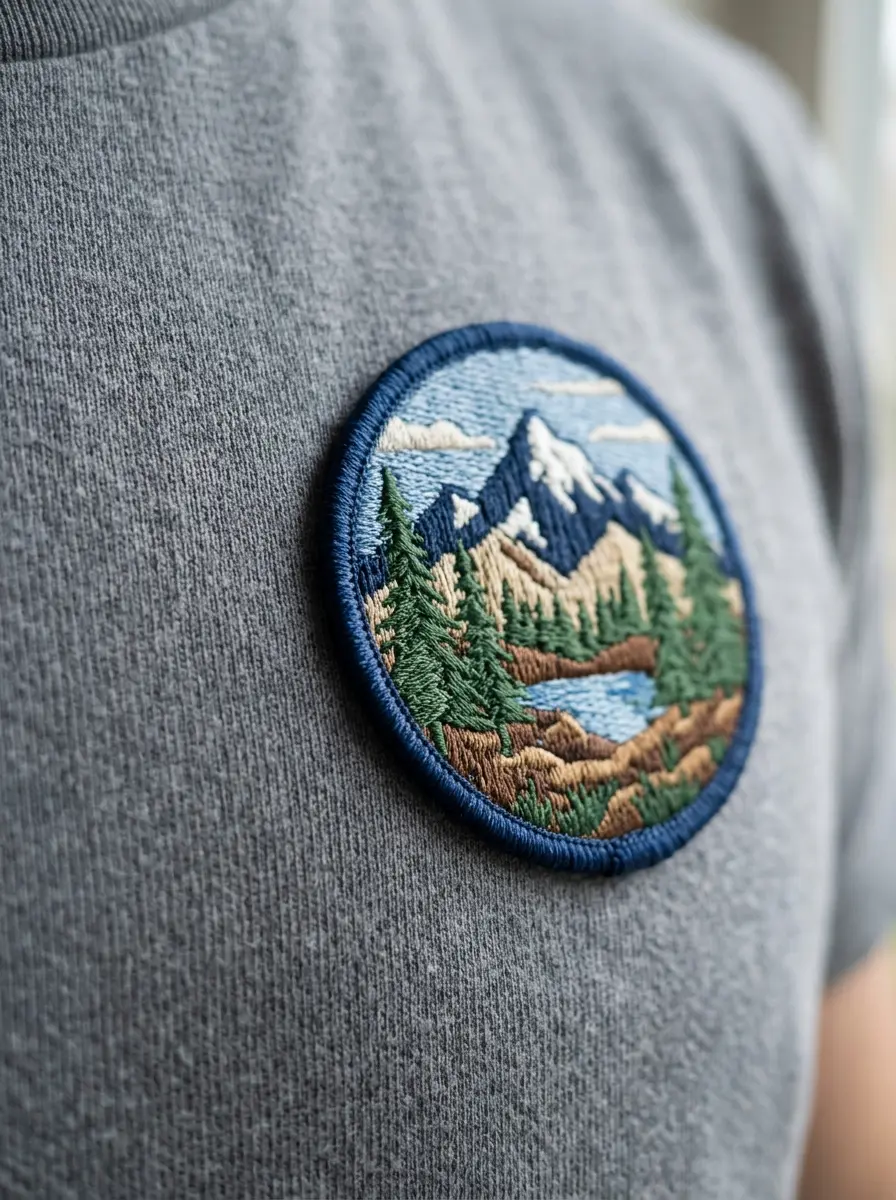
Cotton tees take iron-on well. Skip thin stretch jersey. Place the patch away from seams and hems.
Left chest is the classic spot. Planning a layout? Our placement guide shows where patches sit best.
Press the sleeve flat on a table.
Pad nothing. Use a hard surface.
Keep clear of the collar seam.
Press in small sections.
Not sure which garment suits iron-on? Use this short list.
- Best: jeans, denim jackets, canvas bags
- Good: cotton tees and cotton hoodies
- Careful: curved caps and polyester blends
- Careful: thick seams and hems
PATCH TYPES
Custom Embroidered Iron On Patches and Other Heat-Seal Types
Backing and patch type are separate choices. Your face style sets the look. Heat-seal sets how it attaches.
In the UK, bespoke iron on patches is the same product. Only the wording differs. Pick the face that suits your art, then add the backing.
| Type | Iron-on fit | Detail | Note |
|---|---|---|---|
| Embroidered | Strong fit | Raised thread, twill base | Press through a cloth |
| Woven | Strong fit | Flat, fine detail | Thin and light |
| Printed | Good fit | Full color artwork | Test the heat first |
| PVC | Ask us first | Rubber face | Heat may warp it |
Thickness matters. A heavy patch needs longer, firmer pressing than a thin one. A raised thread surface should never touch a bare iron plate. Use a cloth every time.
- See embroidered patches for thread styles.
- See woven patches for fine detail.
- See printed patches for photo color.
- See your garment fabric before you pick.
Need a name tag? Our name patches page has sizes and layouts.
Every type uses a polyester twill base or similar face material. Thread is polyester. Want another backing? See hook and loop or adhesive.
PEEL FIXES
Why Iron-On Patches Peel and How to Stop It
Peeling starts at the edge. It almost always traces back to one cause. Fix the cause before you add anything else.
Edges lift first because they carry the least glue. Corners lift next. Once an edge curls, water and friction get underneath.
| Cause | What you see | Fix |
|---|---|---|
| Low heat | Glue looks cloudy | Press again, hotter |
| Short press | Center bonds, edges lift | Hold longer |
| Soft surface | Weak grip overall | Use a hard table |
| Uneven pressure | One corner lifts | Press each side |
| Early testing | Edge peels while warm | Let it cool fully |
| Hard wear | Edges curl after wash | Add stitches |
Wash stress adds to it. Hot water and long spins pull at a loose edge. A fully cooled, fully pressed patch handles this far better. Most failures are press errors, not patch errors.
When to Add a Few Stitches for Extra Hold
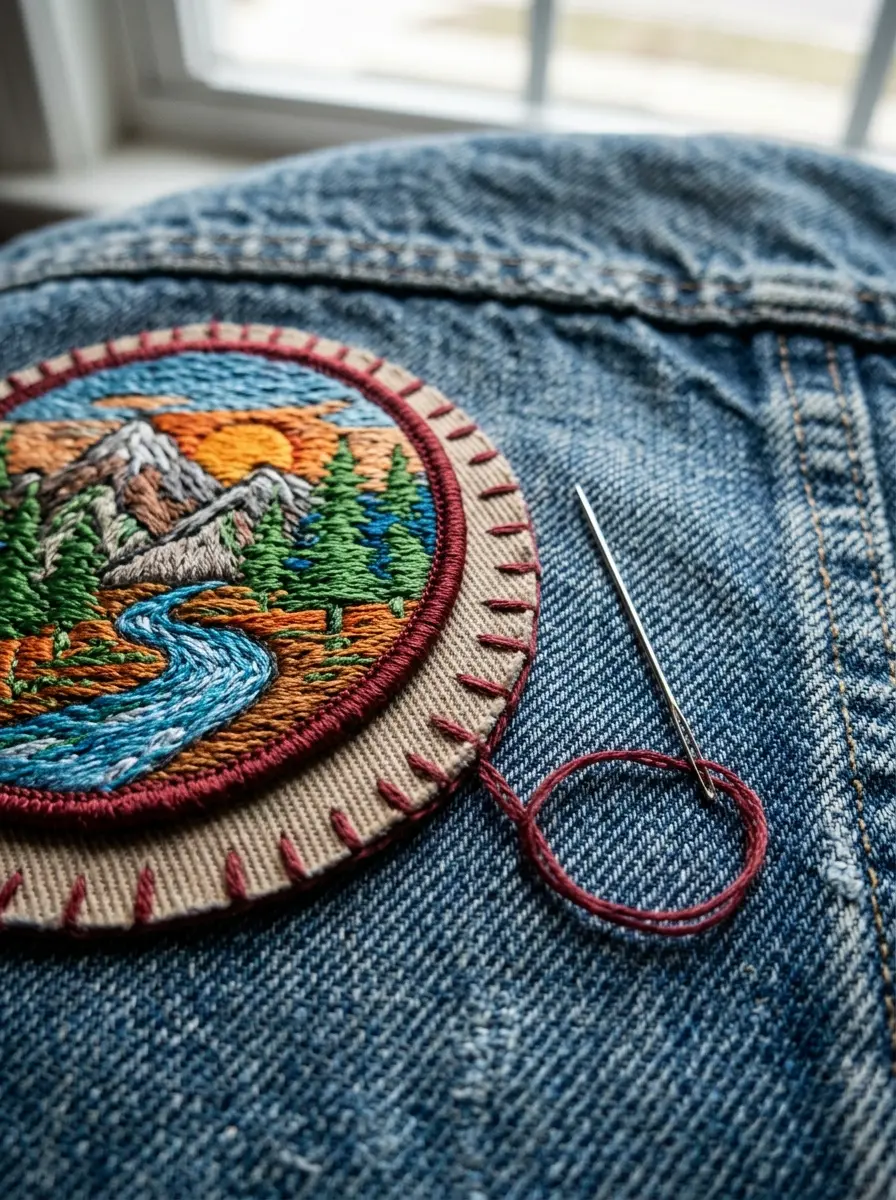
Stitches back up the glue. They cost a few minutes. Use them on cuffs, bags, backpack straps and workwear. Compare methods in iron-on versus sewing. Or go straight to sew-on patches.
- Match thread to the patch border.
- Use a small needle.
- Sew a whip stitch around the edge.
- Knot on the inside of the garment.
- Check the corners twice.
ORDER DETAILS
What to Tell Us When You Order Iron-On Backing
Looking for custom iron on patches no minimum? You can order from 1 to 100,000 pieces. Tell us these six things:
- Patch type, such as embroidered or woven
- Size in inches or millimeters
- Garment fabric, so we can check the fit
- Quantity, from one patch up
- Rush needs, if you have a date
- Artwork file in AI, EPS or PDF
- Garment tag photo, if you have one
Quantity can be one patch or a full crew run. Size is measured at the widest point of the shape. A bigger patch needs more heat contact, so tell us the garment. That detail changes our advice.
Fabric matters most. If your garment is a blend or a stretch knit, say so. We will tell you if iron-on is the right backing. Often a sewn or velcro back is the better call.
Ready? Upload your file on the quote page. Add notes about the garment too. Our free proof shows colors, size and edges. You can change anything before production.
READY TO ORDER
Get Custom Iron On Patches Made From Your Art
Upload Artwork
Send any common file format.
Approve Your Proof
Free digital proof within 24 hours.
We Ship Worldwide
Standard 10 to 14 business days. Rush in 5.
Upload your artwork and we send a free proof within 24 hours.
No minimum. Free proof in 24 hours. Ships to 50+ countries.
COMMON QUESTIONS
Questions About Custom Iron-On Patches
Which fabrics can I iron custom patches onto?
Cotton and denim work best. Canvas is usually fine. Test polyester blends in a hidden spot first. Avoid nylon, stretch and waterproof fabrics. When unsure, choose a sewn patch instead.
Can I get personalized iron on patches made from my own design?
Yes. Upload your artwork as AI, EPS or PDF. PNG, JPG and SVG also work. You get a free Pantone-matched digital proof in 24 hours. Unlimited revisions are free, so you can adjust colors and size.
Do iron-on patches go on the inside or outside of a garment?
On the outside. Place the patch face up on the fabric surface. Press from above, through a cloth. The adhesive side always faces the garment, never the iron.
Do you peel off the back of an iron-on patch?
It depends on how the backing ships. Check your product card first. Remove any paper or film layer before pressing.
What is the correct way to iron on a patch?
Use a hard surface and a pressing cloth. Press firmly, then flip and press the back. Let it cool. Our step guide has the full method.
What will iron-on patches not stick to?
Nylon, stretch fabrics, waterproof shells, leather and rough fleece. Heat melts them or blocks the glue. Sew-on is the safer way, and velcro is another option.
How long do custom iron-on patches take to make?
Production takes 10 to 14 business days after proof approval. Rush orders take 5 business days. Shipping is duty-free worldwide. Your free digital proof arrives within 24 hours, before any production starts.
Who makes iron-on patches to order from my art?
Patch makers do. We make every patch to order from your artwork. Nothing is ready-made. We ship to 50+ countries, with no minimum order.
Do Hobby Lobby or Michaels make custom iron-on patches?
Craft stores mostly stock ready-made patches. We cannot speak for their custom policies. For a patch cut to your art, use a made-to-order maker like us.
Can I design my own iron-on transfers for free?
Free design tools exist. Many are good enough for a first sketch. A transfer is a printed film, not a patch. For a stitched patch from your art, see our design page.
Will an iron-on patch survive repeated washing?
Yes, on the right fabric with enough heat, pressure and time. Let it cool fully first. For hard daily wear, add a few edge stitches. We do not promise a set number of washes.
Do iron-on patches work on polyester hoodies?
Test a hidden spot first. Many polyester fabrics mark or shine under heat. Sew-on or velcro is the safer route. Cotton hoodies are a better match for heat-seal.
Do thick patches bond as well as thin ones?
Thick patches need more heat time. Their edges lift first on bendy fabric. Thin patches follow the cloth better. Tell us if the garment flexes a lot.
KEEP EXPLORING