Custom Jacket Patches
Back, chest and sleeve patches made to order.
We make custom patches for jackets from your artwork. Each one is sized for the back, chest or sleeve. No minimum. Free proof in 24 hours.
PATCH TYPES
Which Custom Jacket Patches Suit Which Jacket Fabric
The fabric sets the rules. A patch that works on denim can fail on nylon. Pick the type first, then check how it attaches.
| Type | Best jackets | Look | Typical attach |
|---|---|---|---|
| Embroidered | Denim, work jackets | Raised thread | Sew-on or iron-on |
| Chenille | Varsity jackets | Thick, fuzzy letters | Sew-on |
| Leather look | Leather jackets | Smooth and flat | Sew-on |
| Woven | Bombers, windbreakers | Fine flat detail | Sew-on or iron-on |
| PVC | Rain shells | Waterproof rubber | Sew-on or hook backing |
Every type here is made to order from your artwork. Colors match Pantone codes on your free proof. Weight matters too, so match the patch to the jacket.
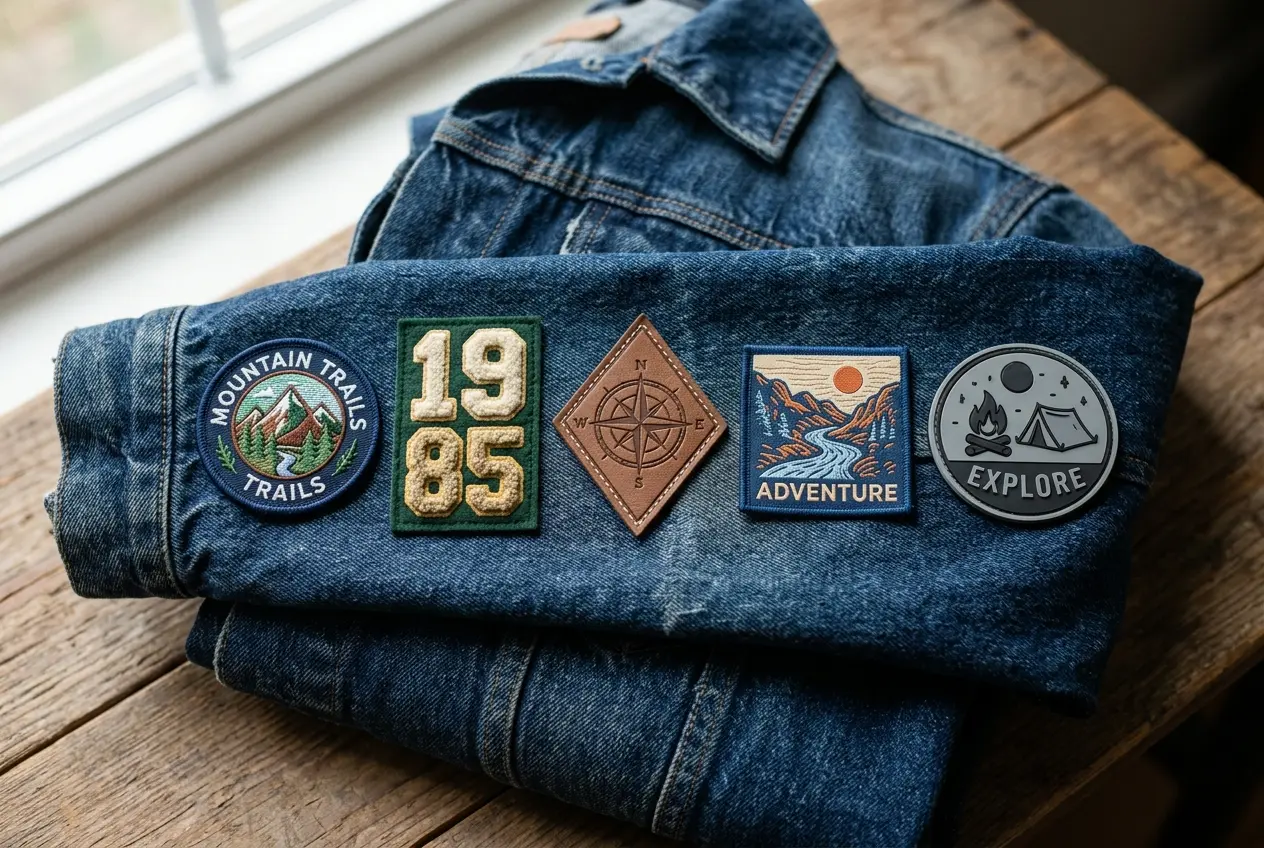
Custom Embroidered Patches for Jackets: Raised Texture on Denim and Work Wear
Thread builds a raised face on a polyester twill base. It suits denim and work wear. The texture ages well with the fabric.
- Bold logos and crests read best
- Pantone-matched colors on your proof
- Sews on cleanly at the border
Work jackets take rough wear. Thread stands up to scuffs better than flat print. Pick bold shapes that survive wear.
Chenille and Leather Looks for Varsity and Leather Jackets
Chenille uses thick, fuzzy yarn for varsity letters. Leather looks suit leather jackets. Both belong on firm, sewn jobs.
- Chenille suits big block letters
- Leather jackets take sew-on only
- Sturdy jackets carry heavy patches
See the chenille patch page and the leather patch page.
Woven or PVC for Windbreakers and Rain Shells
Woven patches stay flat and light on thin nylon. PVC shrugs off rain. Both avoid the bulk that drags thin fabric.
- Woven suits small text and thin fabric
- PVC suits wet weather
- Keep weight low on light shells
Unsure which type fits your jacket? Send the jacket type with your artwork. Your proof shows how the patch will look.
- Fabric picks the attach method
- Weight must suit the jacket
- Bold art reads from far away
Lined jackets hide stitches. Unlined jackets show them. Match thread to the lining so the inside looks tidy. Cuffs and collars rub more than chests do. Place patches where sleeves will not catch.
BACK PATCHES
Custom Back Patches: Sized for the Middle of the Jacket
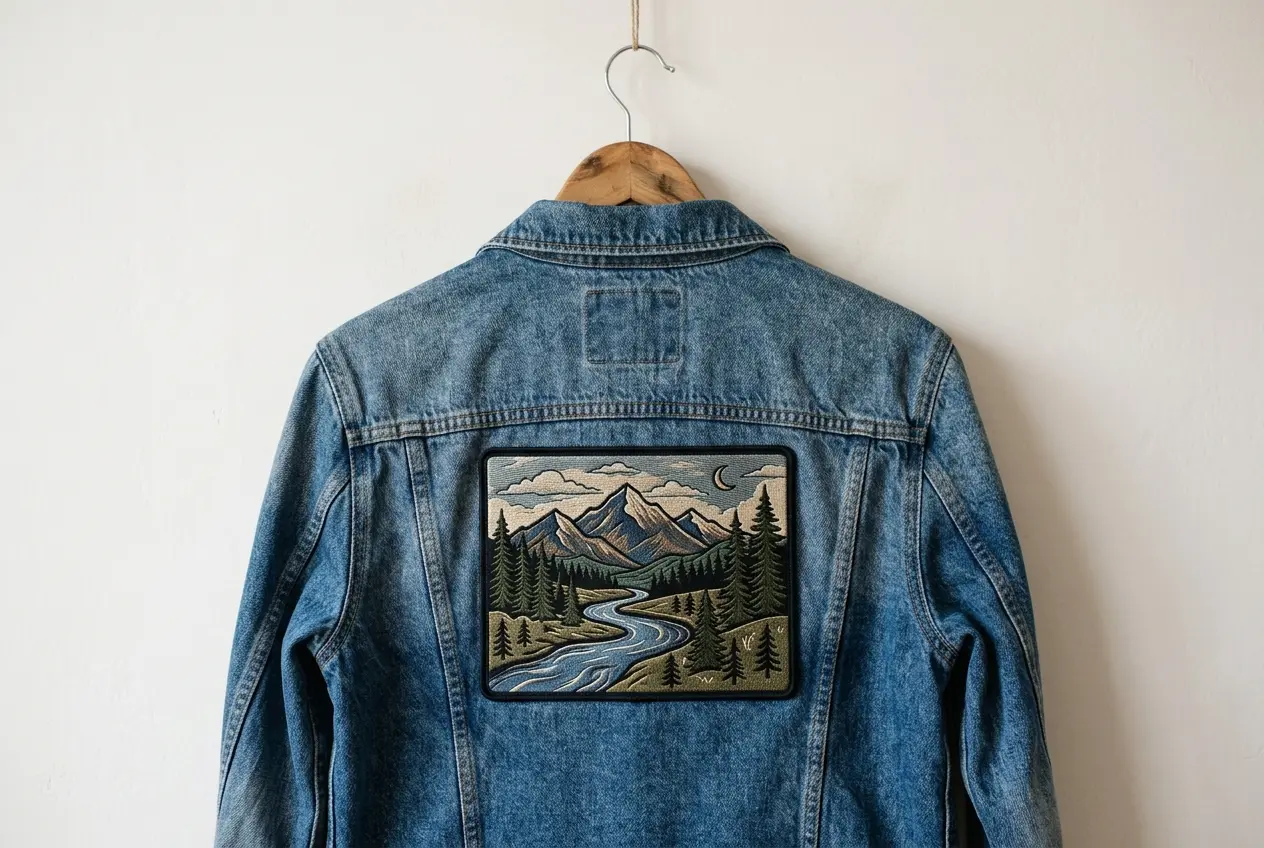
The back is the statement spot. It has the most room and the most eyes. Plan the art around the shoulder blades.
| Position | Typical size | Note |
|---|---|---|
| Back | 10 to 14 inches wide | The statement piece |
| Chest | 3 to 5 inches | Logo size |
| Sleeve | 3 to 4 inches | Simple text |
| Collar | 1.5 to 2 inches | Tiny marks only |
Center the art between the shoulder blades. Leave a margin below the collar. Check that the patch clears the seams.
Chest, Sleeve and Collar Patch Sizes
Small spots need few stitches. Keep text short and bold. Long names turn to noise at three inches.
- Chest: one logo, left side
- Sleeve: a short word or icon
- Collar: a tiny mark
Sleeves bend at the elbow. Keep patches above that line. Chest patches sit over the heart on most jackets.
Custom Large Patches for a Full Jacket Back
Big patches need a firm border. They also add weight. Check how the jacket hangs once it is on.
- Pick a firm, stitched border
- Check backing stiffness
- Mind total weight on thin fabric
- Confirm the largest size on your proof
- Keep the art centered
- Allow a margin at the collar
- Avoid zippers and seams
Measure from the collar seam down. Leave a hand width above the hem. Hold a paper cutout against the jacket and check it in a mirror. Walk around and sit down. Creases shift where a large piece lands.
VESTS
Custom Vest Patches: What Changes From a Jacket
A vest has a narrower back and no sleeves. That changes what fits and where. Sew-on is the usual choice.
| Feature | Jacket | Vest |
|---|---|---|
| Back width | Wider | Narrower |
| Sleeve spots | Yes | None |
| Layered patches | Less common | Common |
| Usual attach | Any method | Sew-on |
Vests layer well. Small patches can form a collage. A large center piece anchors the back.
- Plan the back as one panel
- Keep side seams clear
- Layer small pieces around a center
- Stitch every edge
Club vests with sets are covered on the biker patch page.
- Back panel
- The main space on a vest.
- Rocker
- A curved text patch that frames a center piece.
- Layering
- Overlapping several small patches in one area.
Check how the vest closes. Zippers and snaps cut into patch space. Keep the front edges clear.
ATTACHMENT
How to Attach Patches by Jacket Fabric
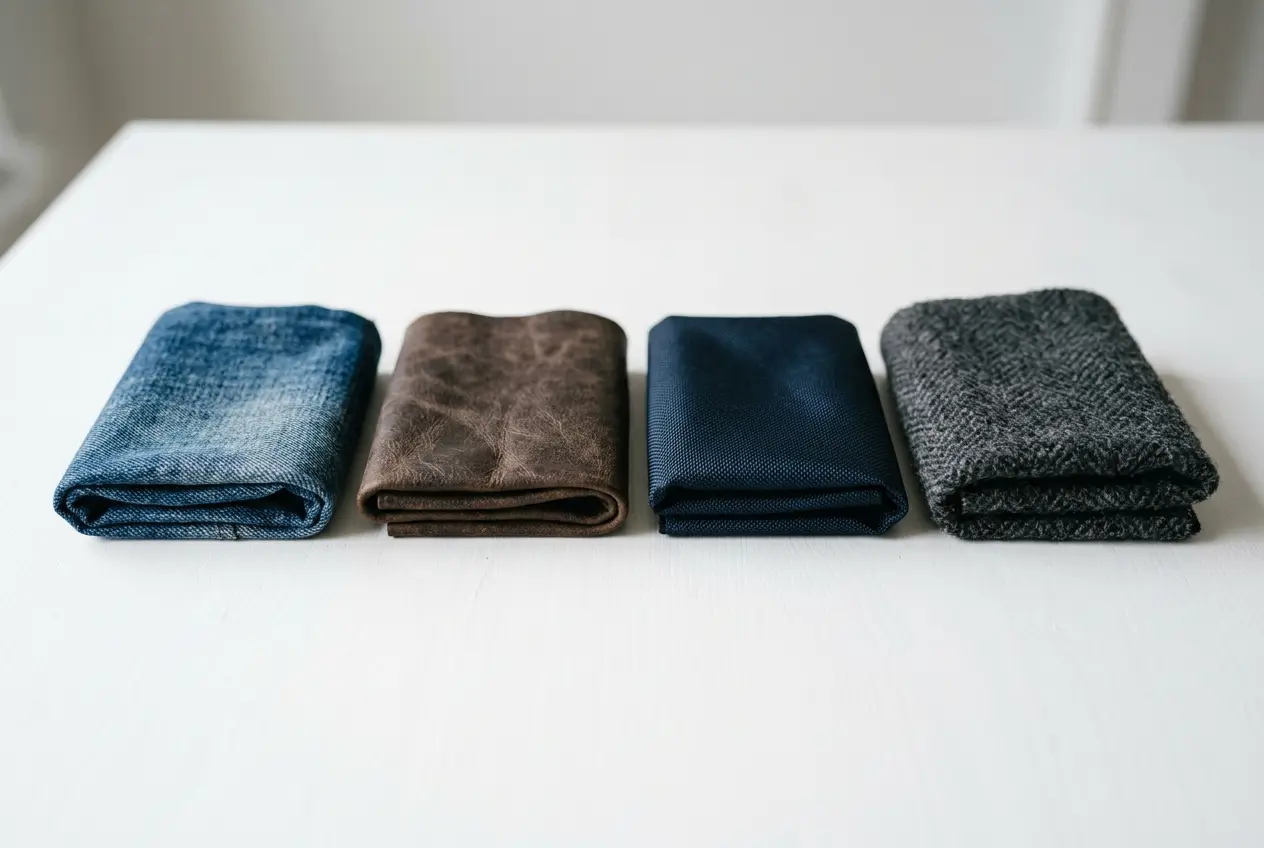
Fabric limits the method. Check the label before you start. Sewing is safe on every fabric.
| Fabric | Safe methods | Avoid |
|---|---|---|
| Cotton denim | Sew-on, iron-on | Hot washes on glue |
| Leather | Sew-on only | Heat |
| Nylon | Sew-on | Heat |
| Waterproof shell | Sew-on | Heat on coatings |
| Wool coat | Sew-on | Iron-on |
Denim: Iron On, Then Stitch the Border
Cotton denim takes heat well. Iron-on glue bonds first. Hot washes weaken it, so stitch the border.
- Press with a cloth
- Stitch the full border
Denim is the forgiving fabric. It lets you test placement first.
Leather: Sew On Only
Heat harms leather. Needle holes stay in leather, so place the patch once. Use a leather needle.
- Mark with chalk, not pins
- Stitch slowly and evenly
Nylon Bombers and Waterproof Shells: Keep Heat Away
Nylon can melt. Coatings can crack. Sew the patch on instead. Stitch holes can let in water, so seal them if rain matters.
- Sew with fine thread
- Seal holes with seam sealant
Wool Coats and Parkas: Use a Stitched Border
Thick fabric needs thread. Custom coat patches sit best with a stitched border. Sew through the outer layer only, not the lining.
- Whip stitch the edge
- Keep stitches off the lining
Need every step? Read the sewing guide or the iron-on guide.
Wool grips a stitch well. Thick seams do not. Keep the patch off bulky seams.
- Check the care label first
- Test placement with painter's tape
- Sew before you wash
- Wash inside out afterward
Different jackets age differently. A denim jacket softens. A nylon shell stays slick. Choose the method for the fabric, not the look.
SIZE CHECK
Check the Patch Size on Your Jacket Before You Approve the Proof
Size mistakes are the most common regret. A quick check costs nothing. Your proof is free and revisions are unlimited.
- Print your proof
Print it at actual size on plain paper.
- Tape it on
Hold it on the jacket with painter's tape.
- Check from a distance
Stand back and look in a mirror.
- Approve or revise
Ask for a size change if it looks off.
- Use the same jacket you will wear
- Check the size at arm's length
- Check it from the front and the side
Back patches look smaller on a flat table. They look larger when worn. Taping the proof on shows the real result.
- Hold a paper cutout on the jacket
- Sit down and check the creases
- Take a photo from three steps back
READY TO ORDER
Get a Free Jacket Patch Proof: One Patch or 100,000
Upload Artwork
Send any common file format.
Approve Your Proof
Free digital proof within 24 hours.
We Ship Worldwide
Standard 10 to 14 business days. Rush in 5.
Upload your artwork and see the patch before production.
No minimum. Free proof in 24 hours. Ships to 50+ countries.
COMMON QUESTIONS
Custom Jacket Patch Questions
Can you put patches on a denim jacket?
Yes. Sew it on, iron it on or use a loop panel. Cotton denim takes all three. Stitch the border for a permanent hold, especially on a jacket you wash often.
Do iron-on patches stay on denim?
At first, yes. Cotton denim bonds well. Repeated hot washes weaken the glue. Stitching the border keeps the patch in place.
How to repair a hole in a jacket?
Patch behind or over the hole. Stitch every edge. Pick a patch heavier than the fabric so the stitches do not tear out. Check the fit before you sew.
What is the best way to attach patches to a jacket?
It depends on the fabric. Sewing works on every fabric. Iron-on suits cotton denim. See the fabric table above for each jacket type.
What are the patches on jackets called?
People say back patch, chest patch, sleeve patch, rocker or chenille letter. The name follows the position and the style.
What size should a custom back patch be?
A typical back patch is 10 to 14 inches wide. Check it against your jacket on the proof. Confirm the largest size with us first.
What are some creative patch ideas for jackets?
Try a crest, a name panel, a varsity letter or a brand logo. Keep the art bold and simple.
What is the best material to patch denim?
Embroidered twill and woven patches are common on denim. Match patch weight to the denim weight. Sew the border for lasting hold.
Where should the first patch go on a new jacket?
Start with the left chest or the upper back. Leave space around it for later additions. Plan the layout before you commit.
Can patches go over a jacket seam?
Yes, but thick seams make bumps. Stitching bridges a seam better than glue. Keep the patch flat where fabric folds. Shift it a little if the seam bulges.
KEEP EXPLORING