How to Sew On a Patch: By Hand or Machine on Any Fabric
Six steps, the right stitch and fixes for every fabric.
How do you sew on patches so they last? Pin flat, whip stitch every 1/8 to 1/4 inch, then knot inside. This guide shows each step.
TOOLS
What You Need Before You Sew: Needle, Thread and Pins
Here is how to sew in patches without a struggle. Gather a few tools first. Each one removes a common headache.
| Tool | Use | Tip |
|---|---|---|
| Sharp needle | Pierces the patch border | Pick size by fabric weight |
| Large-eye needle | Easy threading | Handy with thicker thread |
| Thimble | Pushes the needle through | Helps on denim and canvas |
| Pins | Hold the patch flat | Place across the edge |
| Tape loops or spray adhesive | Hold without pins | Good for leather |
| Small scissors | Trim thread tails | Keep the tips sharp |
| Seam ripper | Undo mistakes | Pick stitches out gently |
- Needle size
- Thin needles suit thin cloth. Thicker needles suit denim and canvas.
- Doubled thread
- Fold the thread in half for extra strength. Knot both ends together.
- Thimble
- A metal or leather cap for your pushing finger. It saves your skin on thick layers.
Set the garment on a flat surface. Good light saves your eyes. A clean, dry table beats a lap.
Needle and Thread: Which Size and Colour
How do i sew on a patch with the right thread? Start with the patch edge color. Matching thread hides small mistakes.
| Thread | Strength | Best use |
|---|---|---|
| All-purpose polyester | Strong, fade-resistant | Most patches |
| Cotton | Soft, natural look | Light fabric |
| Invisible thread | Thin, nearly hidden | Hiding stitches, needs care |
- Cut about 18 inches of thread
- Longer thread tangles and knots
- Double the thread on heavy fabric
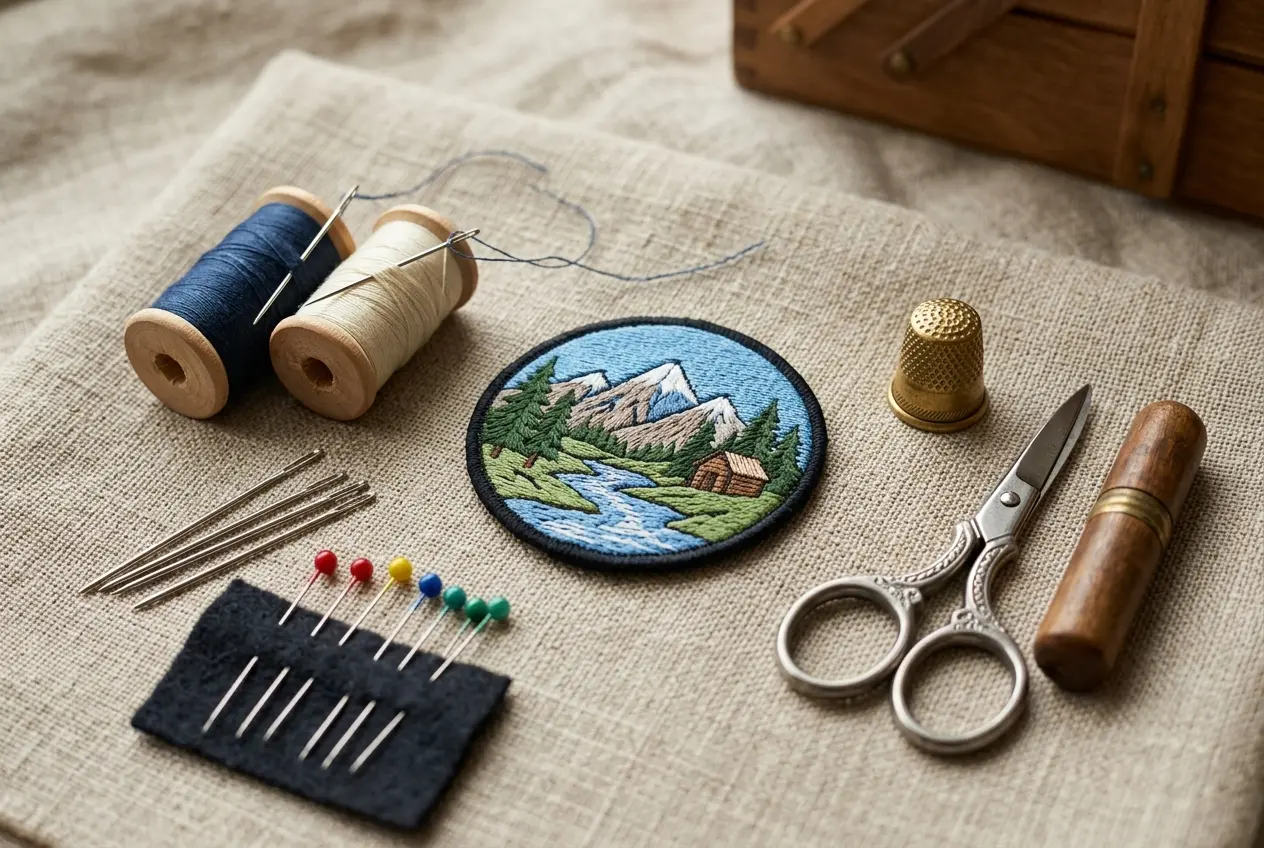
- Thread the needle before you pin
- Keep tools in one small box
- Work in good light
SIX STEPS
How Do You Sew On a Patch? Six Steps for Beginners
Six steps cover almost every patch. Learn them once and reuse them on any garment. Slow, even stitches beat fast ones.
Steps 1 and 2: Position the Patch and Thread the Needle
- Step 1: pin, tape or spray the patch flat
- Step 2: cut about 18 inches of thread, then knot it
Take a photo of the placement first. It helps if the patch shifts. Hold the garment up and check the angle.
- Hold it up and check in a mirror
- Check it sits level with seams
- Mark the corners with chalk
Threading is the first hurdle. Wet the thread tip if it frays. Pull a short tail through the eye.
- Thread too long: it tangles
- Knot too small: it pulls through
- Spacing too wide: edges lift
Steps 3 and 4: Start Inside, Then Stitch the Edge Evenly
Learn how to hand sew a patch with one stitch. Start from the back so the knot hides. Come up through the border.
- Step 3: pull the needle up from inside the garment
- Step 4: stitch around the edge every 1/8 to 1/4 inch
Keep stitches square to the edge. Pull the thread snug, not tight. Tight thread puckers the cloth.
Go through the border only. The border is the strongest part of the patch. The face stays clean and flat.
Steps 5 and 6: Knot Twice and Check the Corners
- Step 5: knot twice on the inside
- Step 6: check corners and tug the edge
- Slide the needle under a stitch before cutting
- Trim the tail close to the knot
- Step 3 tip: keep the needle square to the edge
- Step 4 tip: stop and check every few inches
- Step 5 tip: knot close to the fabric
- Step 6 tip: tug the patch lightly in each direction
| Check | Good result |
|---|---|
| Edge | Lies flat against the fabric |
| Stitches | Even length and spacing |
| Corners | Held tight, no lifting |
| Knots | Hidden inside the garment |

These stitches also suit patches on bags and sleeves. The pattern never changes. Only the needle and the pace do.
STITCH GUIDE
How to Hand Stitch a Patch: Which Stitch Is Strongest?
The right stitch depends on your goal. Some stitches hide. Others hold harder. Pick one and use it all the way around.
| Stitch | Look | Strength | Best for |
|---|---|---|---|
| Whip stitch | Near invisible | Good | Most patches |
| Running stitch | Dotted line | Fair | Light patches |
| Blanket stitch | Decorative loops | Good | Felt and rough edges |
| Backstitch | Solid line | Strongest | Heavy use, visible |
| Slip stitch | Hidden | Fair | Folded edges |
| Ladder stitch | Hidden | Good | Clean finish |
- Whip stitch
- Wraps over the edge. Near invisible and quick.
- Backstitch
- Each stitch overlaps the last. It holds hardest.
- Blanket stitch
- Loops along the edge. It looks decorative.
- Slip stitch
- Passes through a fold. The thread hides inside.
How to Sew On a Patch Without Seeing the Stitches
- Match the thread to the patch border.
- Use slip stitch or ladder stitch through the edge.
- Keep each stitch tiny.
- Bury the knot inside the garment.
Thread color does most of the hiding work. Pull stitches snug but never tight. Tight thread makes dimples in the cloth.
- Use a thin needle
- Take tiny bites of the border
- Keep the thread the same color as the border
Go through the patch border, not the face. The border hides thread well. A merrowed border hides it best.
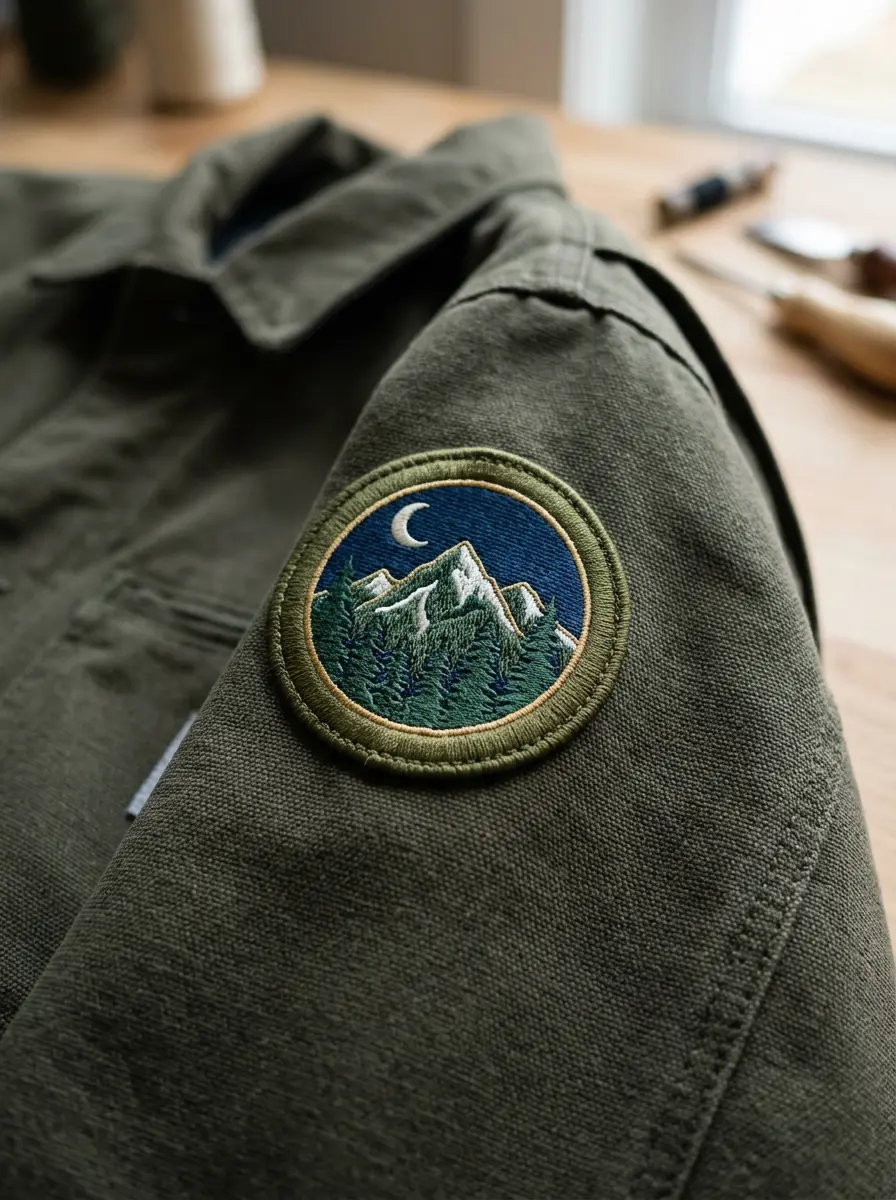
A merrowed border hides thread best. A plain cut edge shows more stitches. Slow down on curves.
- Whip stitch for most patches
- Backstitch for work wear
- Ladder stitch for hidden seams
| Stitch | Speed | Skill |
|---|---|---|
| Whip stitch | Fast | Low |
| Running stitch | Fast | Low |
| Blanket stitch | Medium | Medium |
| Backstitch | Slow | Medium |
| Slip stitch | Slow | Higher |
| Ladder stitch | Slow | Higher |
- Backstitch where strength matters
- Whip stitch where looks matter
- Slip stitch where hiding matters
MACHINE SEWING
How to Stitch a Patch With a Sewing Machine
A machine is fast on flat fabric. Pin the patch well. Sew slowly and guide the cloth by hand.
Set up the machine before you pin. Change the needle to match the fabric. Wind a full bobbin so you do not run out mid-patch.
- Pin the patch every inch.
- Set the stitch to zigzag.
- Lower the needle at the start.
- Sew slowly around the border.
- Backstitch and trim threads.
Straight Stitch or Zigzag: Machine Settings That Work
| Setting | Value | Why |
|---|---|---|
| Stitch type | Zigzag or straight | Zigzag grips the edge |
| Stitch length | About 2.5 mm | Even and secure |
| Needle | Denim size for thick cloth | Avoids skipped stitches |
| Speed | Slow | Better control |
| Pin spacing | 1/2 inch from the edge | Keeps the foot clear |
| Zigzag width | Narrow to medium | Catches border and cloth |
| Presser foot | Standard or walking | Walking foot feeds layers |
| Fabric | Needle | Thread |
|---|---|---|
| Light cotton | Universal | All-purpose polyester |
| Denim | Denim needle | All-purpose or topstitch |
| Canvas | Heavy-duty | Polyester |
Always test on a scrap of the same fabric. A test shows skipped stitches and tension problems.
- Use a walking foot on thick layers
- Backstitch at the start
- Backstitch at the end
- Turn corners with the needle down
Sew Around Twice for Thick Embroidered Edges
- First pass: sew just inside the border
- Second pass: sew just outside it
- Check the back for loose thread
- Very thick patches may jam the machine
- Hat crowns do not fit under the foot
- Narrow sleeves need a free arm
- Press the garment flat first
- Pin perpendicular to the edge
- Remove pins as you sew near them
- Hand-turn the wheel across thick areas
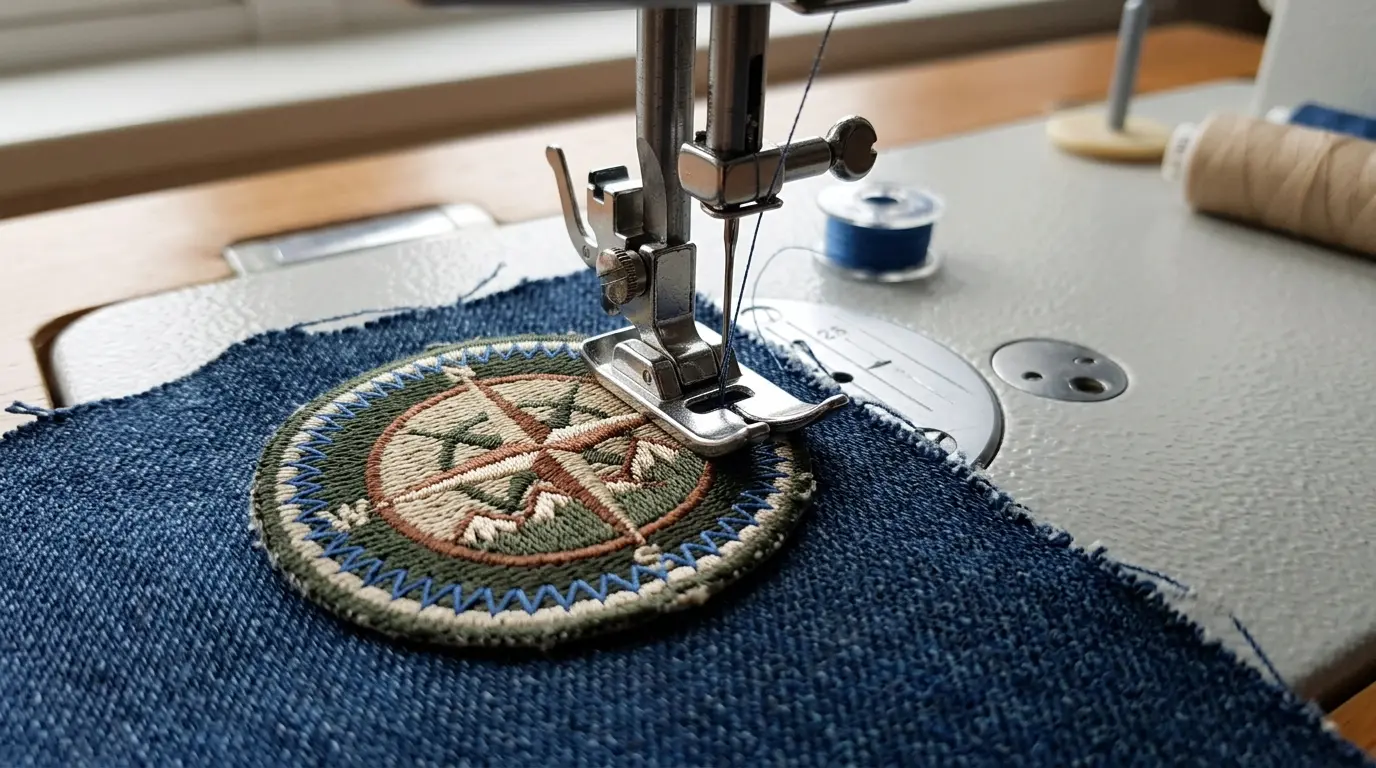
A machine speeds up flat patches. It is not always the right tool. If the patch fights the needle, switch to hand stitching.
- Check the bobbin thread color
- Match the top and bottom thread
- Pull both tails to the back and knot
- Practice on scrap fabric
- Use a new needle each time
- Keep the presser foot clean
DENIM AND BAGS
How to Sew a Patch in Jeans, Denim Jackets and Backpacks
Thick cloth fights the needle. Short passes win. Rest your hands often.
| Fabric | Difficulty | Tip |
|---|---|---|
| Light denim | Easy | Sharp needle works |
| Heavy jeans seams | Hard | Avoid the seam, use a thimble |
| Canvas bag | Medium | Short passes |
| Coated nylon | Hard | Use fewer holes |
| Wool jacket | Medium | Hand sew, press lightly |
Denim handles well, but seams are tough. Place patches away from seams. Layers stack at the hems and pockets.
- Heavy seams
- Layers stack up. Needles bend or snap.
- Straps and webbing
- Dense and tough. Use a thimble and pliers.
- Zippers
- Metal teeth break needles. Keep clear.
- Waterproof lining
- Holes let water in. Avoid it.
Heavy Fabric: Denim Needle, Thimble and Short Passes
- Use a denim needle on machines
- Wear a thimble on your pushing finger
- Pull the needle through with pliers if stuck
- Take short passes, not long ones
How to Sew a Patch on Backpack Fabric Without Wrecking It
Backpack fabric is often coated. Every hole is permanent. Wondering how to put patch on backpack panels? Use fewer, neater stitches.
Want a no-sew option? Try hook-and-loop backings on bags you change often.
- Use pliers to pull a stuck needle
- Rest your hands between passes
- Check the back for jammed thread
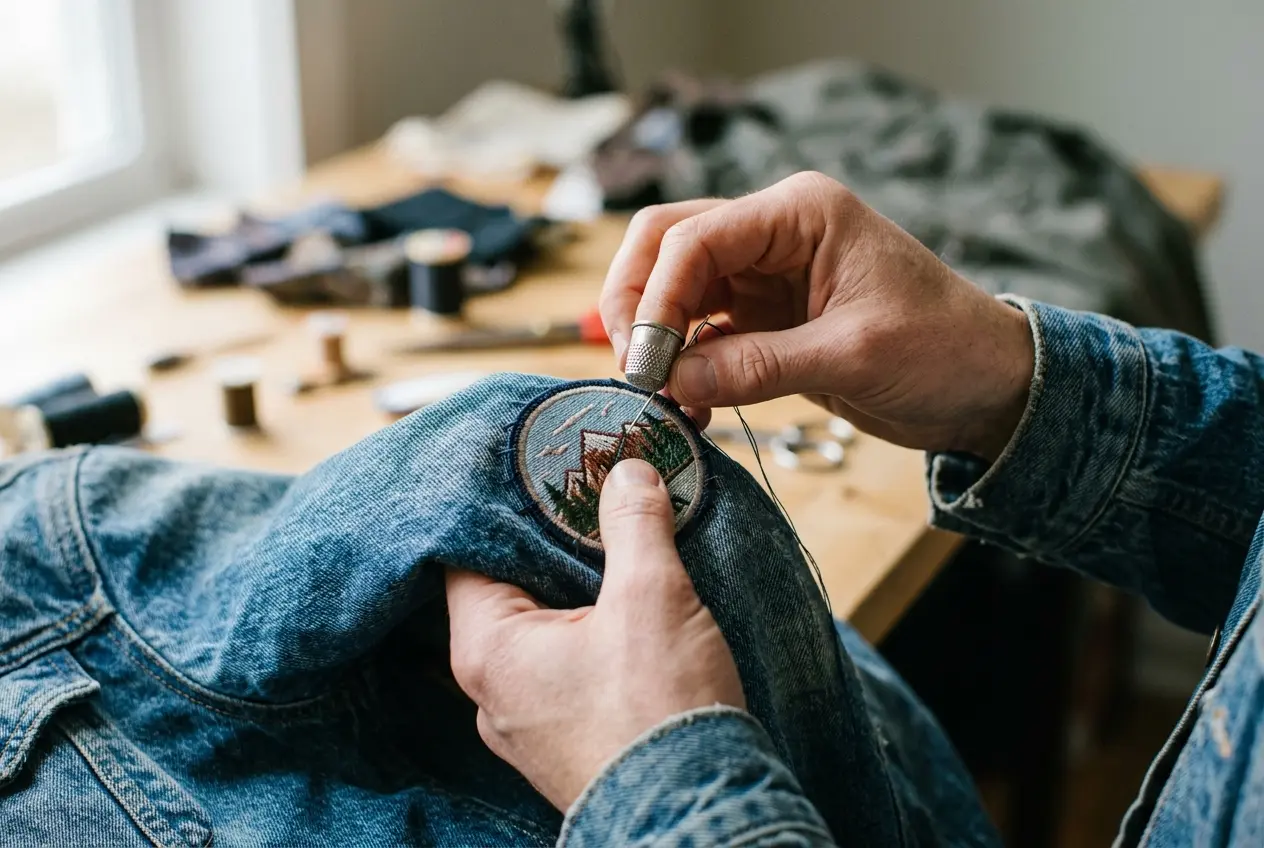
Bags take more stress than shirts. Straps pull in one direction all day. Use strong thread and tight stitches.
- Sew through one layer when possible
- Avoid the lining
- Reinforce corners with an extra stitch
- Plan the position first
- Stitch gently
- Test on scrap fabric
HAT PATCHES
How to Sew a Patch on a Hat Without Losing Its Shape
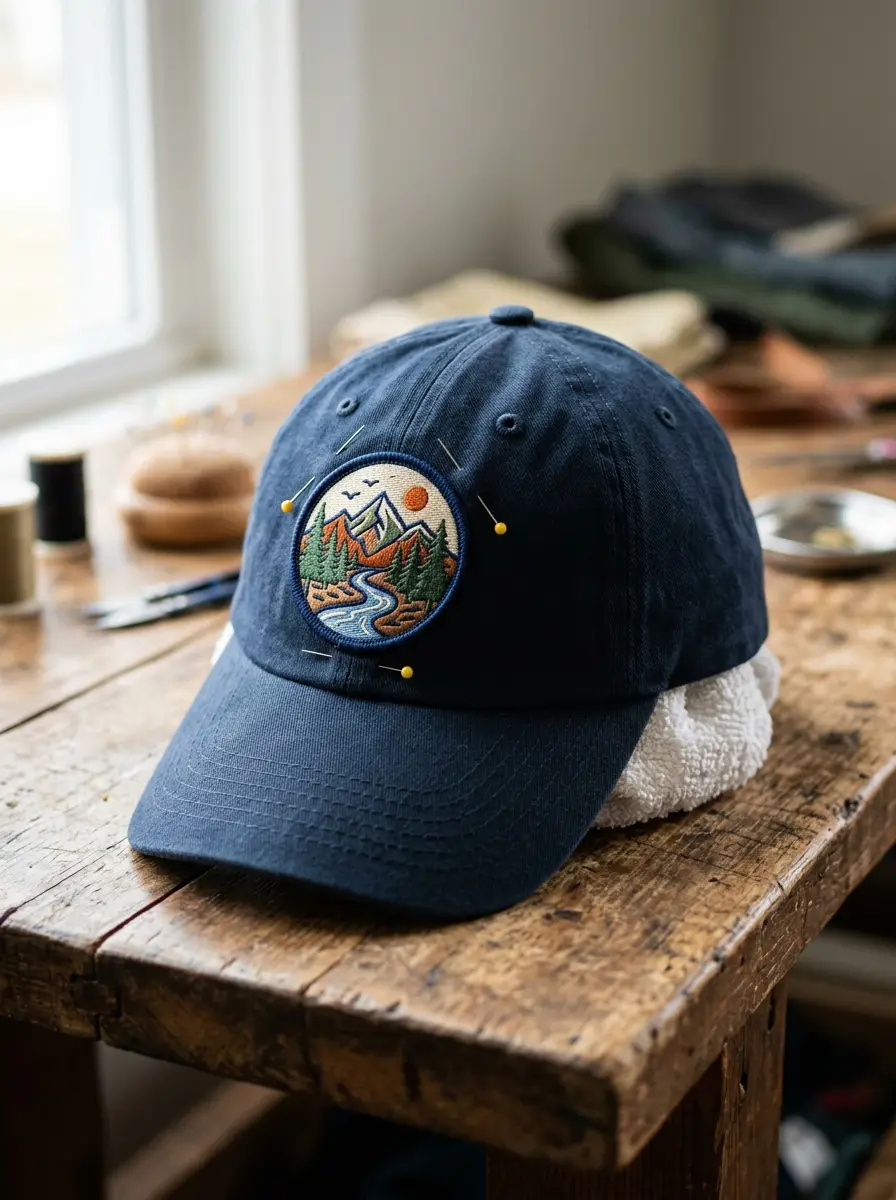
Hats lose shape when you stitch hard. Support the crown from inside. Stitch slowly and gently.
Center the patch on the front panel. Mark the middle seam. Step back and check from a distance.
| Hat type | Risk | Tip |
|---|---|---|
| Structured cap | Stiff crown, tough to pierce | Use a thimble |
| Unstructured cap | Puckers easily | Stitch loosely |
| Knit beanie | Stretches out | Add interfacing |
Never stitch through the brim. The crown front is the usual spot. Avoid the sweatband seam.
- Pick a flat panel of the crown
- Stay away from seams
- Use a blind stitch inside the lining
- Stuff the hat with a towel or hat form.
- Pin the patch flat.
- Stitch with small, loose stitches.
- Check the shape from the front.
Stitch in small, even bites. Stop to check the shape after each quarter turn. Hats forgive little.
Knit Beanies: Interfacing Behind the Patch and a Stretch Stitch
- Iron light interfacing behind the patch spot.
- Use a zigzag or stretch stitch.
- Stitch gently so the knit keeps its stretch.
Planning many hats? See patches made for hats.
- Back stitching is strongest on cap fronts
- Keep thread tension loose
- Check the brim shape after each side
A good hat patch sits flat and keeps the crown round. If the crown dents, undo the last section and restitch looser.
- Support the crown from inside
- Stitch loosely
- Stop to check the shape
LEATHER
How to Sew a Patch on Leather Jackets and Vests
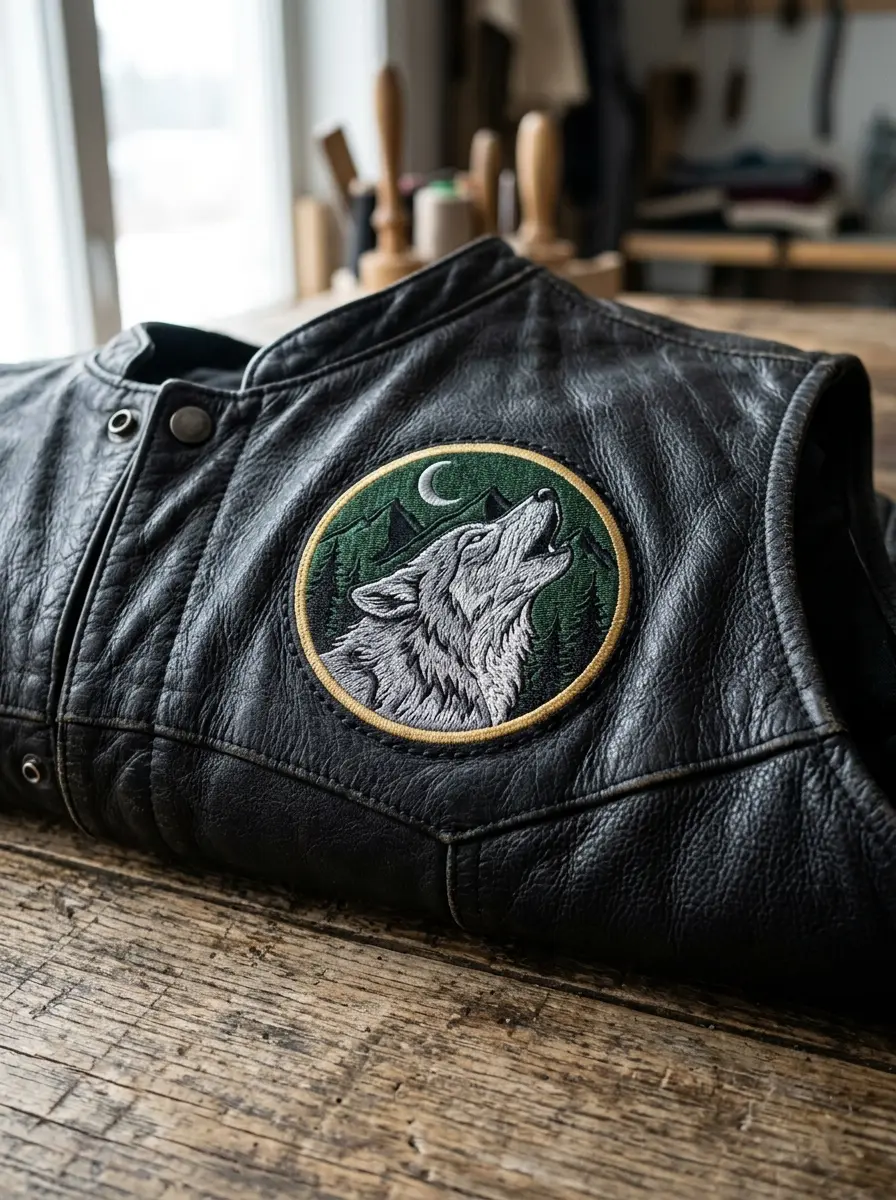
Leather does not heal. Each hole stays. Plan the position first, then stitch once.
Leather jackets and vests are tough to repair. Treat every hole as final. Plan, pin with clips, then stitch.
- Use a leather or wedge-point needle
- Choose polyester thread
- Hold the patch with clips, not pins
- Keep stitches 1/8 to 1/4 inch apart
- Stitch slowly and steadily
Leather is tough. Needles bend. Go slow and steady.
- Leather vests: pre-punch holes with an awl if needed
- Sew small stitches for a firm hold
- Check the back for loose thread
| Item | Choice |
|---|---|
| Needle | Leather or wedge-point |
| Thread | Polyester |
| Spacing | 1/8 to 1/4 inch |
| Holding | Clips, not pins |
| Needle tip | Sharp, not blunt |
On a machine, use a walking foot. That is how to stitch a patch on leather cleanly. Vests suit hand work. Learn how to sew a patch on a leather vest with small, snug stitches.
- Choose thread that matches the patch
- Pull stitches snug but not tight
- Check both sides when you finish
Practice on scrap first. A leather offcut shows how the needle behaves. Never test on the garment.
- Plan once, stitch once
- Use clips
- Keep stitches tight
THIN FABRIC
Shirts and Thin Fabric: Sew Without Puckering
Learn how to sew patch on shirt fabric without waves. Thin cloth puckers when stitches pull. Support it first.
Thin cotton and jersey show every pull. A stabilizer behind the patch spreads the strain. Remove it only if it tears away cleanly.
| Stabilizer | Use | Note |
|---|---|---|
| Tear-away | Light knits | Peels off later |
| Cut-away | Stretchy jersey | Stays inside |
| Iron-on interfacing | Thin wovens | Adds stiffness |
- Mark placement with a pin
- Press the area flat before you start
- Stitch from the center outward
- Test the stitch on scrap first
- Use a fine needle
- Keep thread tension loose
Here is how to sew in patches on a chest pocket or sleeve. Stabilize first. Stitch gently. Press from the back.
- Do not stretch the fabric as you sew
- Let the fabric feed on its own
- Press the back after sewing
Thin fabric is forgiving until it is not. Test first. A quick scrap test costs nothing and saves the shirt.
- Wash the shirt before sewing
- Press the area flat
- Use fresh sharp needles
LARGE PATCHES
Large Back Patches, Uniform Patches and Scout Badges
How do you sew on patches that cover a whole back? Add anchor stitches across the middle. Large patches bubble if only the edge is sewn.
Large patches need support in the middle. The edge alone cannot hold the center flat. Stitch lines across the back of the patch if needed.
| Item | Risk | Tip |
|---|---|---|
| Back patch | Middle bubbles | Add anchor stitches |
| Uniform patch | Wrong placement | Check unit rules |
| Scout badge | Uneven spacing | Use a ruler |
| Merit badge | Small and thick | Use a thimble |
| Letterman jacket | Heavy wool | Short passes |
| Sash or vest | Placement rules | Follow the guide |
- Mark center lines with chalk
- Check left and right alignment
- Check the top edge
- Step back and look
Uniform patches follow strict rules. Use a ruler and chalk. Measure twice, stitch once.
Here is how to sew a patch on a jacket. Start from the center, then work outward. See also patches for clubs and teams.
- Anchor the center with a few stitches
- Work toward each corner
- Tie off at the back edge
Take your time with alignment. A crooked back patch shows from across a room.
Keep a record of placement. A photo of the finished layout helps when you replace a patch later.
- Check the guide for placement
- Mark with chalk
- Stitch the center first
TROUBLESHOOTING
Why Sewn Patches Pucker, Loosen or Fall Off
Most failures come from tension or spacing. Look at the stitch first. Then check the thread.
Most loose patches fail at the corners. Sewing around once is often not enough. Add a second pass where wear is heavy.
| Problem | Cause | Fix |
|---|---|---|
| Puckering | Thread pulled tight | Relax tension |
| Loose edge | Stitches too far apart | Add stitches between |
| Thread breaks | Weak thread | Use polyester |
| Patch shifts | No pins | Tape or pin first |
| Visible knot | Knot on the face | Knot inside |
| Wide gaps | Rushed stitching | Keep 1/8 to 1/4 inch |
| Frayed thread | Rough border | Seal with a dab of sealant |
Fix problems early. A loose corner grows. Add stitches before the edge lifts. Check after the first wash.
- Re-stitch loose areas
- Add thread at corners
- Replace thin thread with polyester
Heavy use tests every stitch. Sleeves, knees and bag straps flex all day. Use strong thread and tight spacing there.
- Check stitches after a week of wear
- Re-sew any loose corners
- Clip stray thread ends
Use the fix that matches the cause. Guessing wastes time. Look at the thread, the spacing and the fabric.
- Use polyester thread
- Keep spacing even
- Knot twice
IRON-ON PATCHES
Can You Sew Over an Iron-On Patch? The Short Answer
Yes. Stitching over an iron-on patch adds hold. Sew through the border, not through the adhesive face.
An iron-on patch has glue on the back. The glue can wear out in the wash. A ring of stitches keeps it in place.
- Stitch the border edge
- Expect a thicker edge
- Use a sharp needle
Compare both methods in our sew versus iron guide. Learn heat application in the iron-on method.
When in doubt, add a few stitches. It rarely hurts and often helps.
- Use a thimble on thick glue
- Sew through the border
- Add stitches at corners
READY TO ORDER
Want Sew-On Patches Made From Your Own Artwork?
Upload Artwork
Send any common file format.
Approve Your Proof
Free digital proof within 24 hours.
We Ship Worldwide
Standard 10 to 14 business days. Rush in 5.
Upload your design. Get a free proof on a polyester twill base with polyester thread.
No minimum, 1 to 100,000. Free proof in 24 hours. Duty-free shipping worldwide. See our sew-on backing.
COMMON QUESTIONS
Sewing On a Patch: Your Questions, Answered
How do I sew on a patch?
Pin or tape the patch flat. Cut about 18 inches of thread and load a sharp needle. Stitch every 1/8 to 1/4 inch around the border. Knot twice on the inside. Then slide the needle under a stitch before cutting.
How to sew a patch on for beginners?
How do you sew on a patch as a beginner? Start with a whip stitch on flat cotton. Use contrast thread so you can see each stitch. Slow, even spacing matters more than speed. Practice on a scrap first.
How to sew on a patch without a machine?
Hand sew it with a whip stitch around the border. A thimble helps on denim and canvas. Keep stitches 1/8 to 1/4 inch apart and knot twice inside. Slow work gives the best finish.
How to sew a patch on without seeing stitches?
Match the thread to the border color. Use slip stitch or ladder stitch through the edge. Keep stitches tiny and bury the knots inside the garment. A merrowed border hides thread best.
Can I sew down an iron-on patch for extra hold?
Yes. Stitching the border adds hold, even over adhesive. Use a sharp needle and a thimble. See our sew versus iron comparison for when to choose each method.
Can you sew a patch on a hat or leather jacket?
Yes. Support the hat shape from inside with a rolled towel. On leather, use a leather needle and polyester thread. Hold the patch with clips, since pins leave permanent holes.
What thread should I use to sew on a patch?
Use all-purpose or 100% polyester thread. Match the patch edge color for subtle stitches. Pick contrast thread while you learn. Every mistake is easy to see and fix.
What should I expect when sewing an iron-on patch?
Expect a thicker edge from the adhesive. The needle passes slower. Stitch through the border and use a thimble if the needle sticks. A sharp new needle helps a lot.
Why is sewing on a patch so hard?
Thick edges, small needles and heavy fabric make it hard. Use a thimble, a sharp needle and short passes. Take breaks so your hands stay steady. Practice makes the stitches even.
How far apart should patch stitches be?
Keep stitches about 1/8 to 1/4 inch apart. Place them closer on curves and corners. Wide gaps let the edge lift and snag. Check each side after you finish.
How many times should I knot the thread?
Knot twice on the inside of the garment. Slide the needle under a nearby stitch. Pull the loop tight and trim the tail close. A hidden double knot rarely comes loose.
Can I sew a patch with a regular sewing machine?
Yes, on flat fabric. Use a zigzag stitch for embroidered edges. Go slow. Sew around twice for thick edges and backstitch at both ends. Test on scrap first.
How long does it take to sew a patch by hand?
A small patch takes a short sitting. Thick fabric, large patches and tiny stitches take longer. Plan extra time for corners. Rushing leads to loose edges and puckers.
Do I need a thimble to sew on a patch?
Not on thin fabric. A thimble helps on denim, canvas and leather. It protects your finger and gives the needle more push. Pick one that fits snugly.
How do I stop a patch from shifting while I sew?
Use pins, tape loops or spray adhesive. Photograph the placement first. Start stitching at the middle of each edge, then work toward the corners. Check the position often.
KEEP EXPLORING